The Submarine - Diving Suit Area
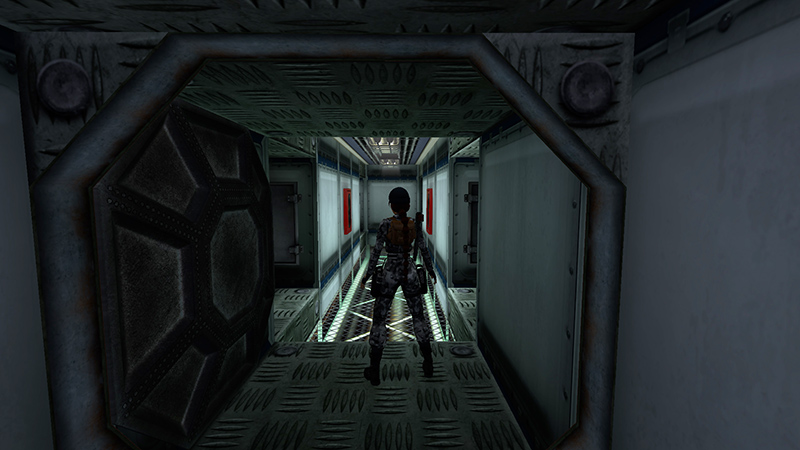
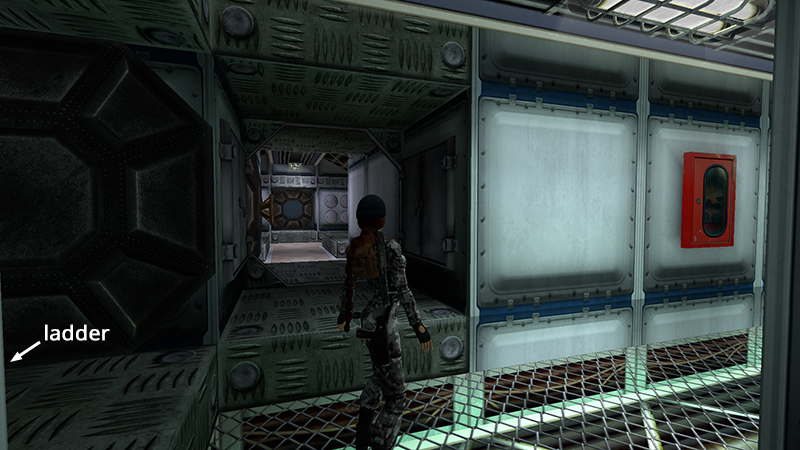
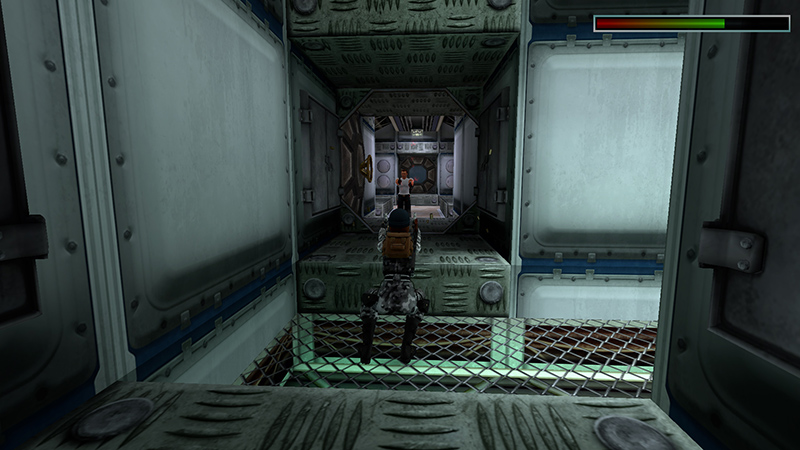
After killing the sailor in the TORPEDO ROOM and climbing the ladder, as shown in the previous section, you're now in a short corridor with two doors on each side.
To the left is an open hatch. There's a diving suit behind glass but no goodies.

Turn the wheel to open the hatch on the right.
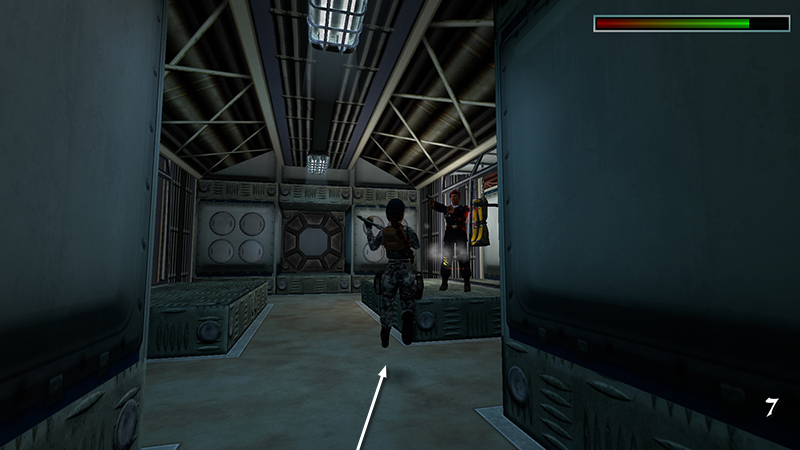
Shoot the sailor (11) (37/62) inside. (You're almost done, so it's not as crucial now to conserve health.)

Pick up his SUIT CONSOLE (18) (117/239).
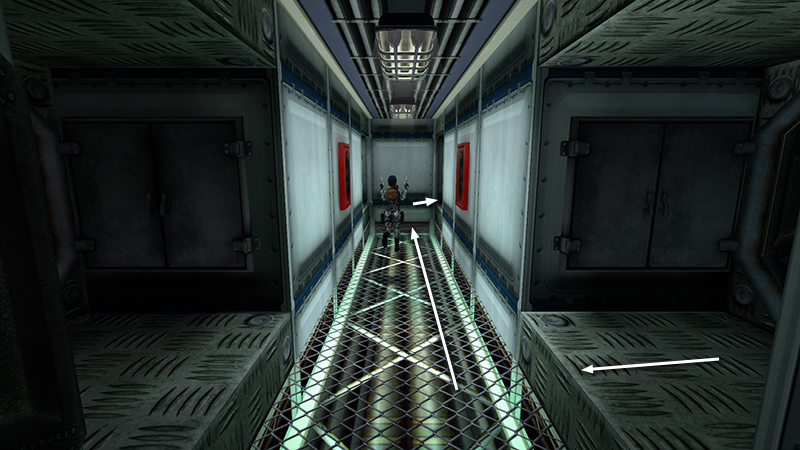
Continue along the passageway. Again, two hatches.
Kill the gangster (12) (38/62) in the room behind the open hatch on the right. (He's the last enemy, so as long as Lara doesn't die here, you're good.)
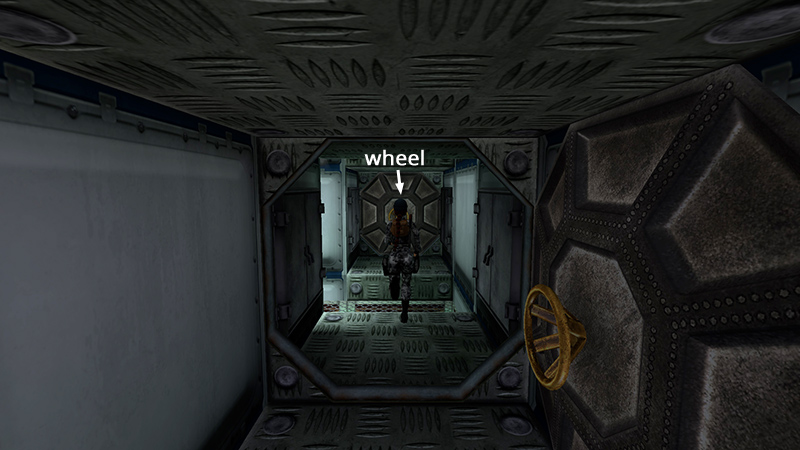
Use the wheel to open the other hatch and go inside.
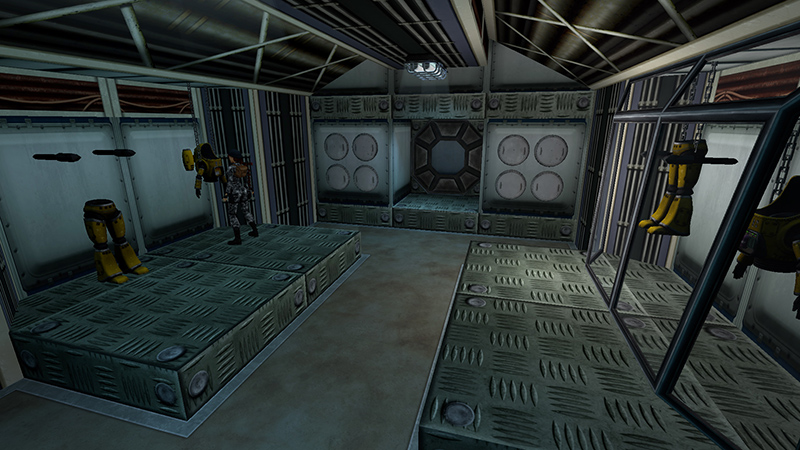
The diving suit on the left is accessible. Position Lara facing the top half of the suit, close to it. Combine the SUIT CONSOLE and AQUALUNG and attach it to the suit (Action). Combine the (+) and (-) BATTERIES and insert them into the CONSOLE. Now you've got a working suit
NOTE: If you missed any of these key items, you can go back for them now. See the footnote following the main walkthrough for details.
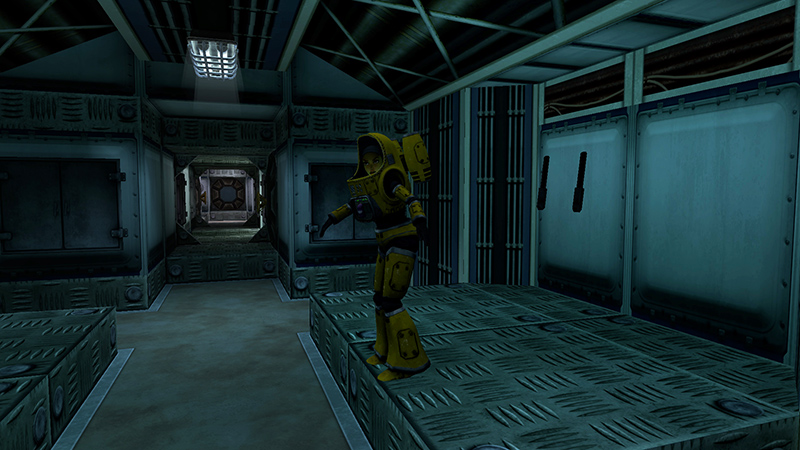
Cutscene: Lara remarks, "Time to turn the tables." She puts on the suit and rides the elevator down to the water.
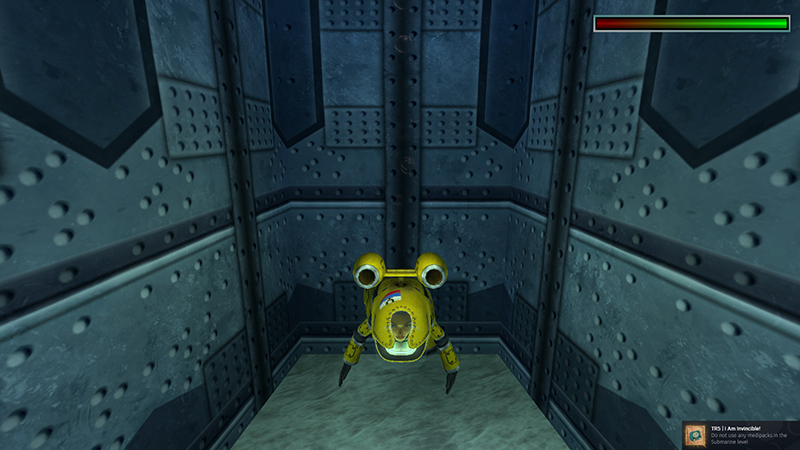
If you completed the level without healing, the "I Am Invincible!" achievement/trophy unlocks after the cutscene.
DARK MODE: I plan to add optional dark mode for these pages, but my current priority is updating the walkthroughs. Meanwhile, may I suggest a reputable dark mode browser extension, such as Dark Reader? (Download only from trusted sites, like darkreader.org or your browser's web store.)
Walkthrough text and diagrams copyright © Stellalune (email ). Feel free to copy or print this walkthrough for personal use. By all means, share it with friends, but please include this credit line so people can send me their feedback. No part of this walkthrough may be reproduced on another site without permission.