The Submarine - Ducts through Torpedo Room
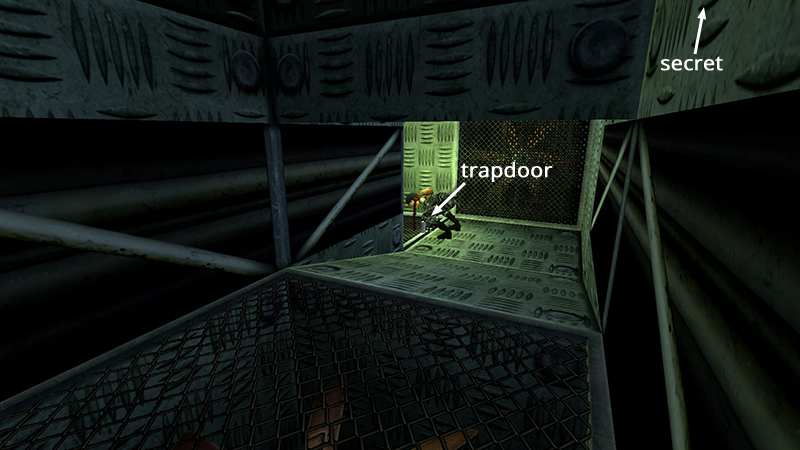
After exploring the submarine and locating two golden roses—one in the CARGO HOLD, one in the VENTILATION DUCTS—you opened a trapdoor. Details are in the previous section.
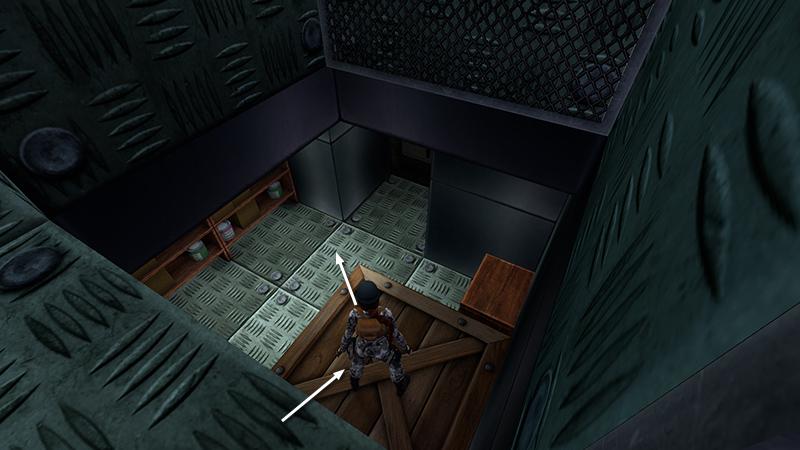
Drop through the trapdoor onto a crate in the STORAGE ROOM below. Then hop down to the floor.
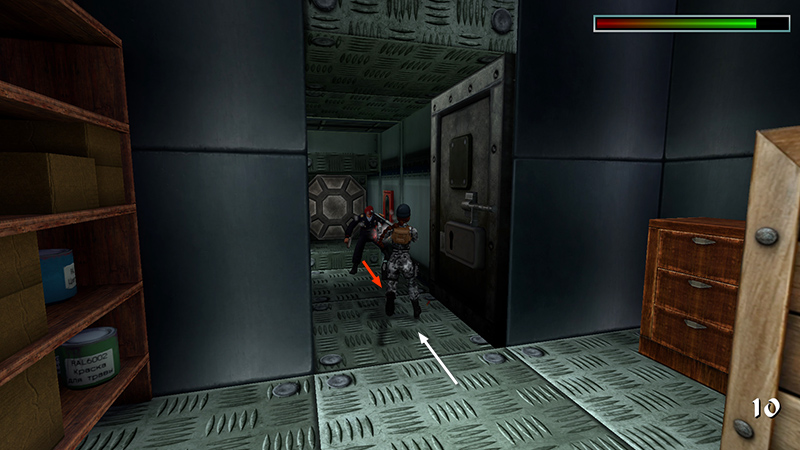
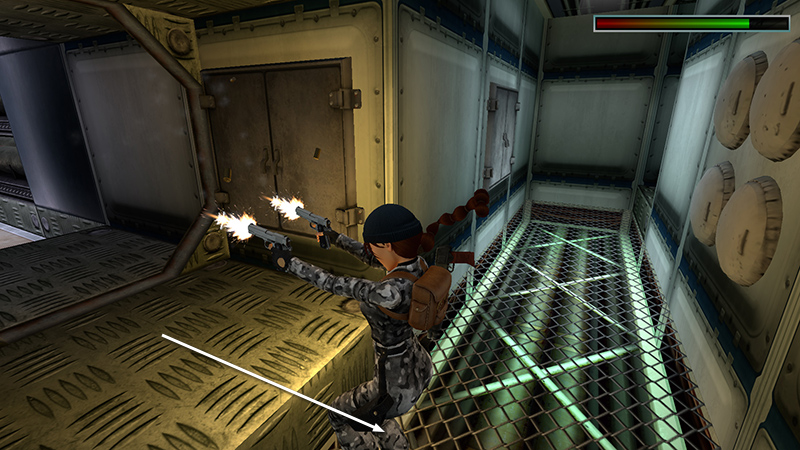
When Lara hits the floor, the door opens and a sailor (8) (33/62) comes to investigate. Two shotgun blasts at close range will take him down.
- OR -
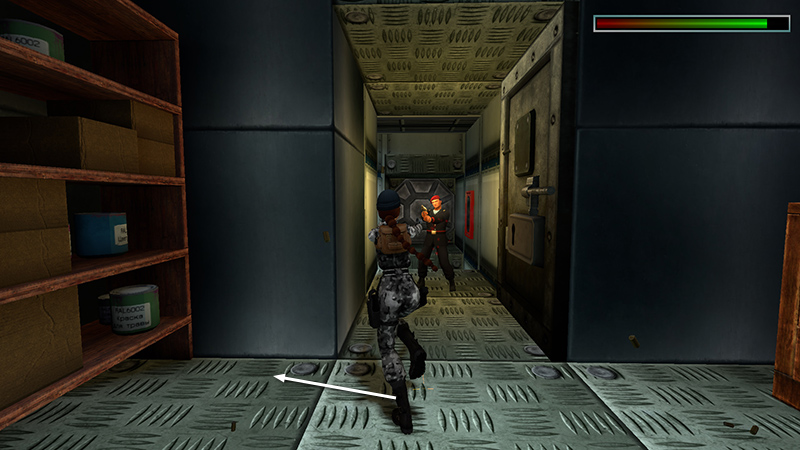
If you'd rather use pistols, get a lock on him, then move to the left of the door.
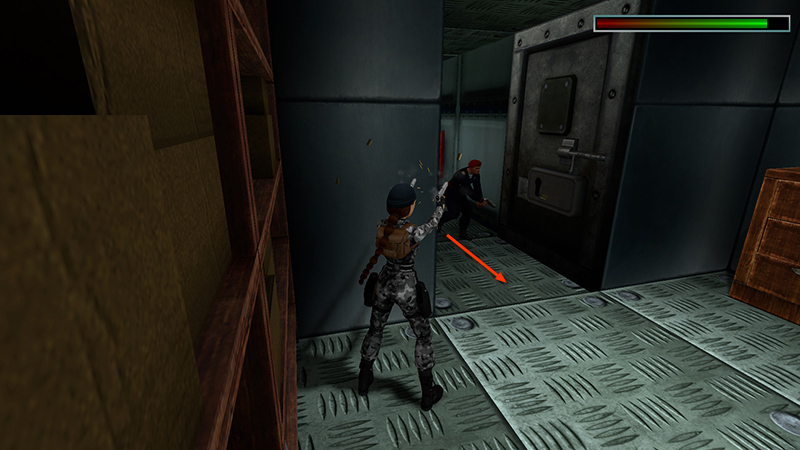
Keep firing as he works up the courage to come all the way in, and you can do a lot of damage before he actually returns fire.
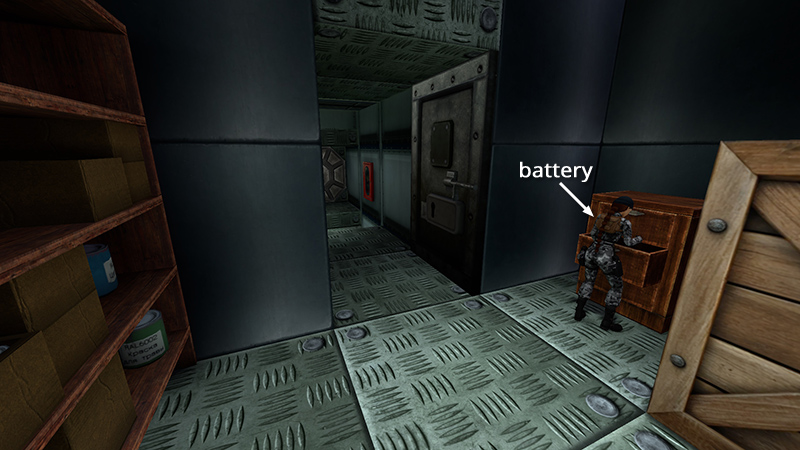
Search the drawers to find a BATTERY (+) (15) (114/239). (The shelves have nothing useful.)

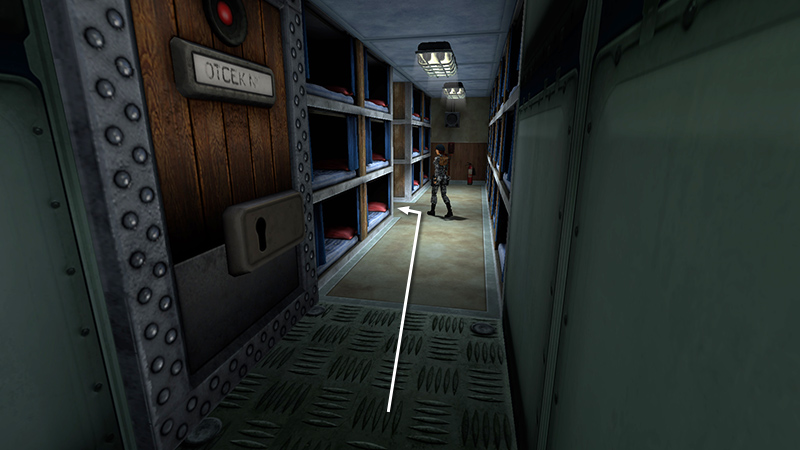
Go through the door that just opened to emerge in the network of CORRIDORS near the MESS HALL. You still don't have a keycard for the swipe-card door ahead, so head left...
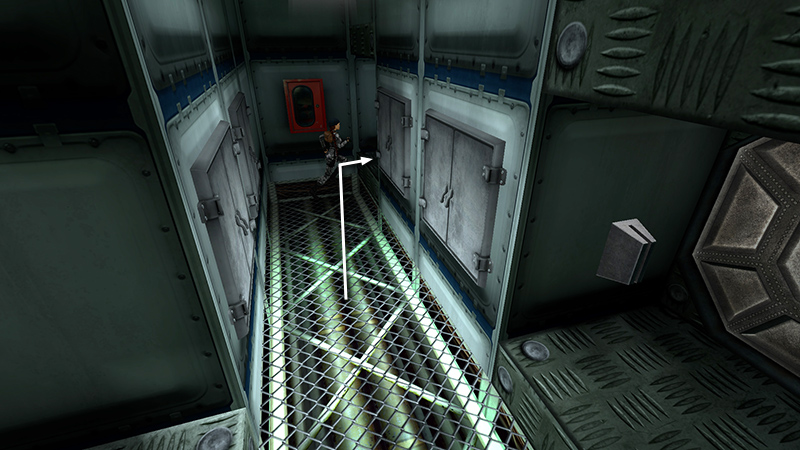
...then right.
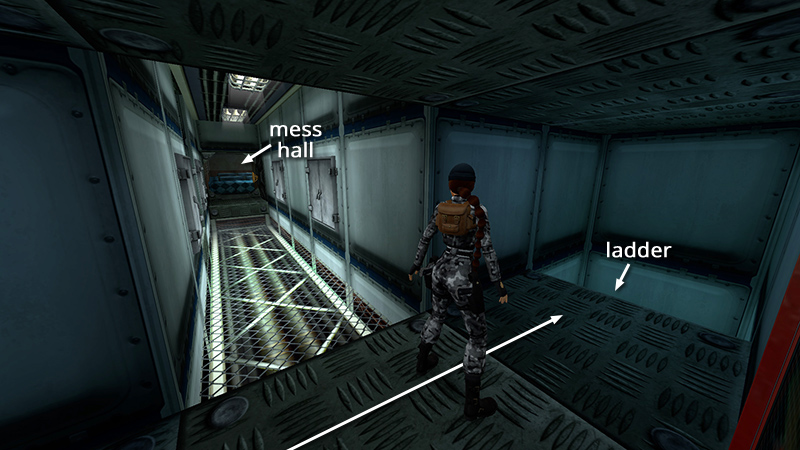
Pass the corridor leading back to the MESS HALL (on your left). Just ahead is a ladder down.

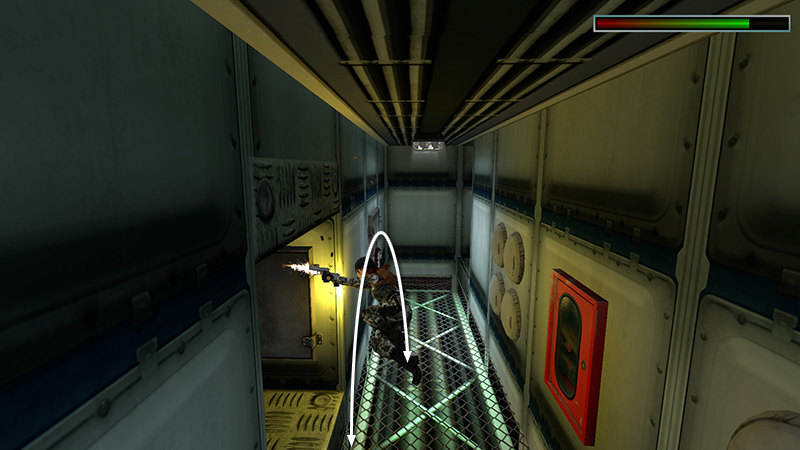
Climb down and advance around the next corner weapons ready.
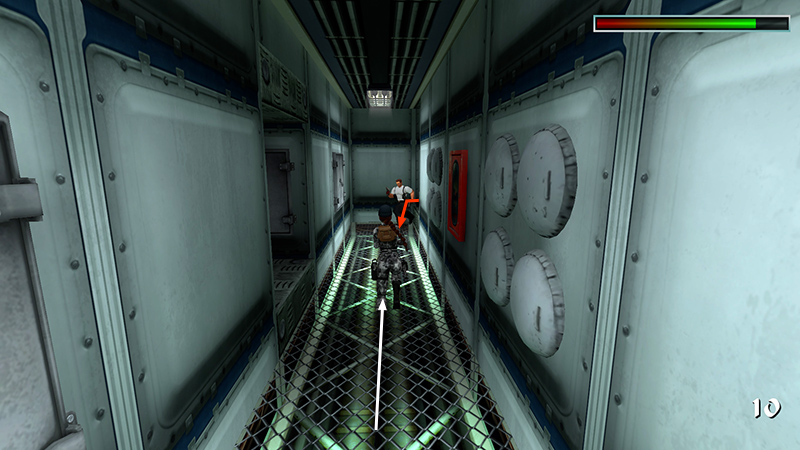
Another gangster (9) (34/62) approaches around the next corner. Run forward and blast him twice with the shotgun.
- OR -
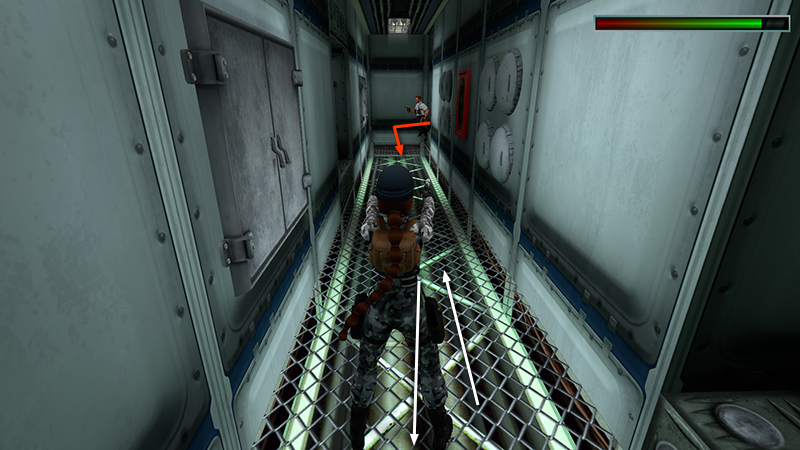
Alternatively, draw pistols and advance just far enough to spawn the enemy. Get a lock on him, then hop back toward the passageway leading to the ladder.
Side flip in and out of the corridor while firing. Lara should take little or no damage this way.
Pick up the wideshot shells (16) (115/239) he drops. Then continue past the hatch with the wheel through the door where the gangster emerged.
These SLEEPING QUARTERS are similar to the room where you began the level. Go between the rows of bunks...
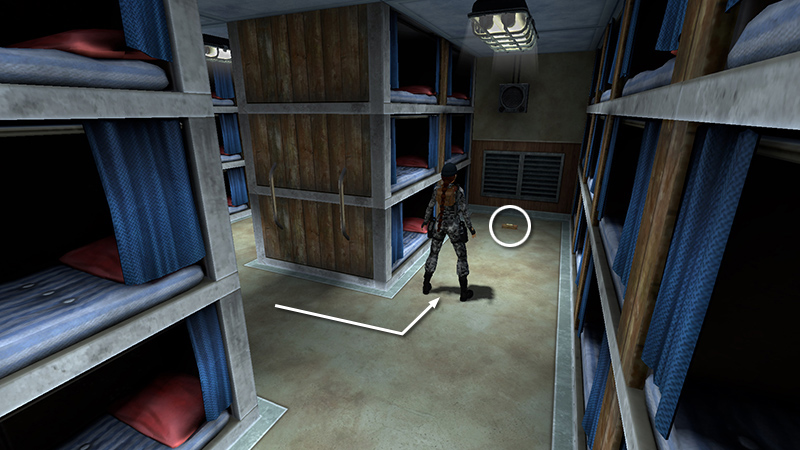
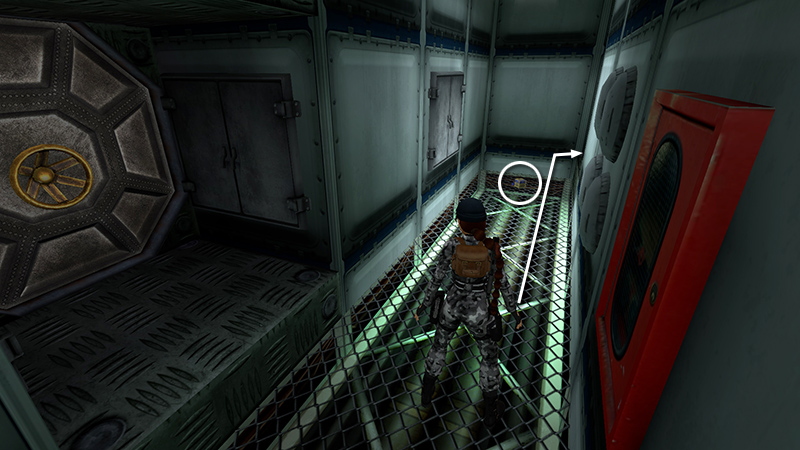
...and pick up a small medipack (17) (116/239) on the floor to the left.
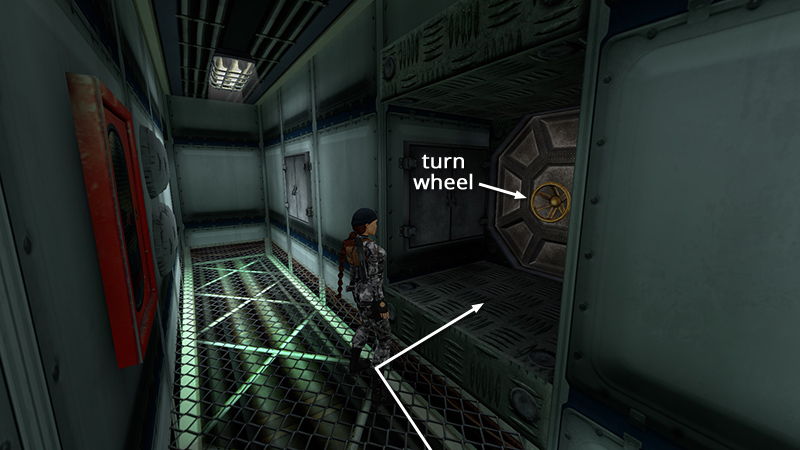
Then backtrack along the corridor and use the wheel to open the hatch.
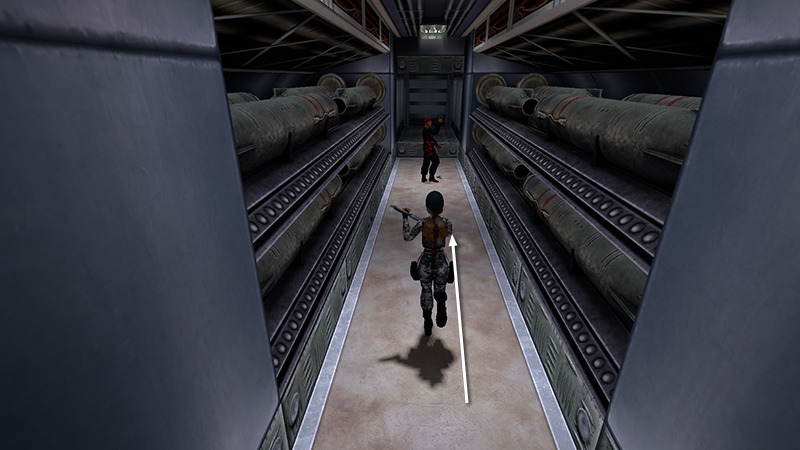
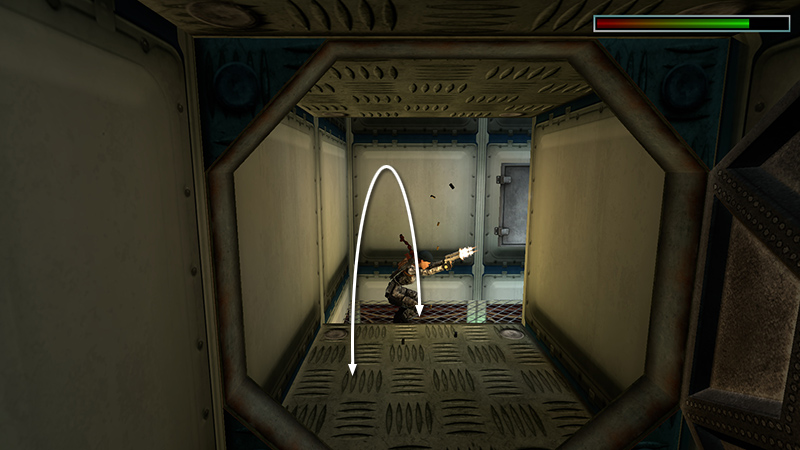
Take out the sailor (10) (35/62) standing guard in the TORPEDO ROOM. Again, the shotgun works well at close range.
- OR -
Instead, get a lock with pistols, hop backward into the hallway...
...and flip side-to-side while firing to minimize health loss for Lara.
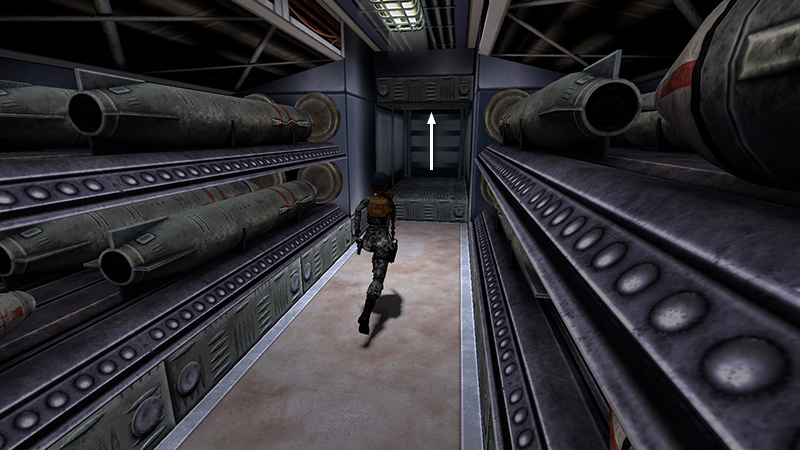
Proceed through the TORPEDO ROOM and climb the ladder to the level above.
DARK MODE: I plan to add optional dark mode for these pages, but my current priority is updating the walkthroughs. Meanwhile, may I suggest a reputable dark mode browser extension, such as Dark Reader? (Download only from trusted sites, like darkreader.org or your browser's web store.)
Walkthrough text and diagrams copyright © Stellalune (email ). Feel free to copy or print this walkthrough for personal use. By all means, share it with friends, but please include this credit line so people can send me their feedback. No part of this walkthrough may be reproduced on another site without permission.