Atlantean Stronghold - Open Area Below the Tower
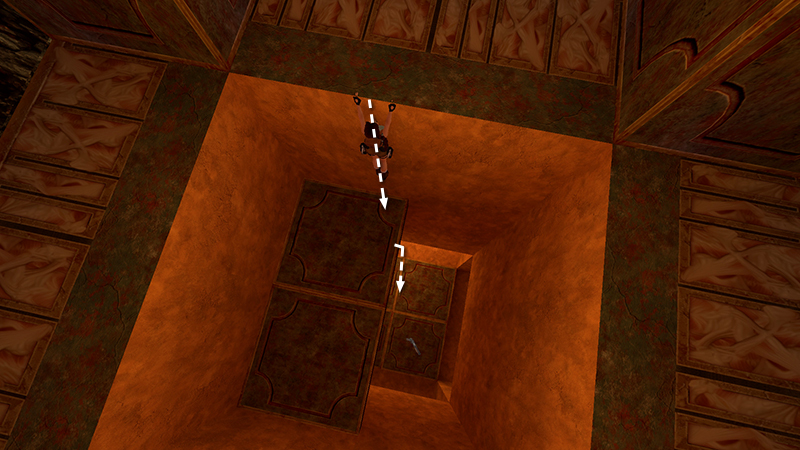
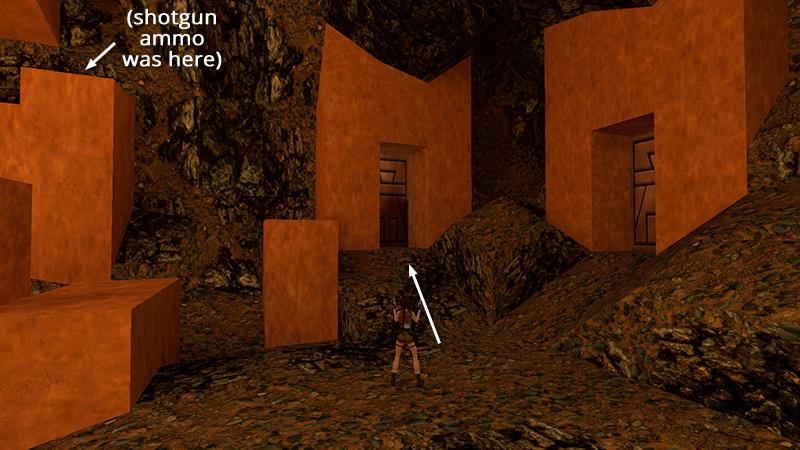
After climbing into the tower and shooting down the flying mutants, as shown in the previous section, drop down into the center of the tower...
...and pick up a small medi pack and the SHOTGUN (6-7).
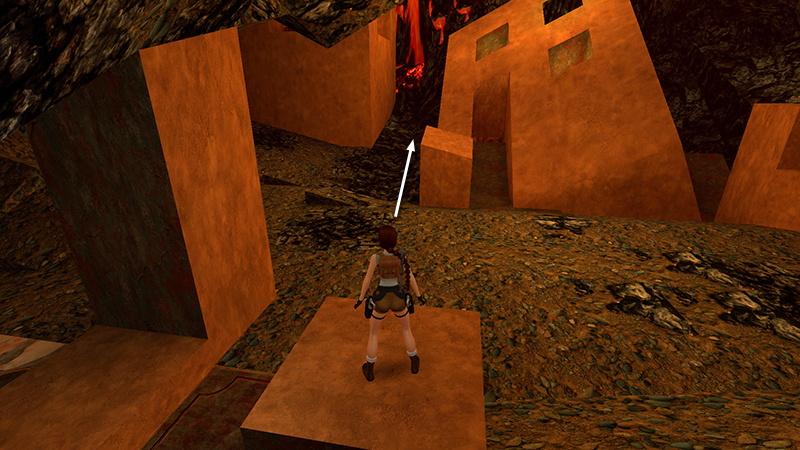
Move onto the south ledge, overlooking the open area and the little decorative alcove. (The honeycomb structure will be off to the left.)
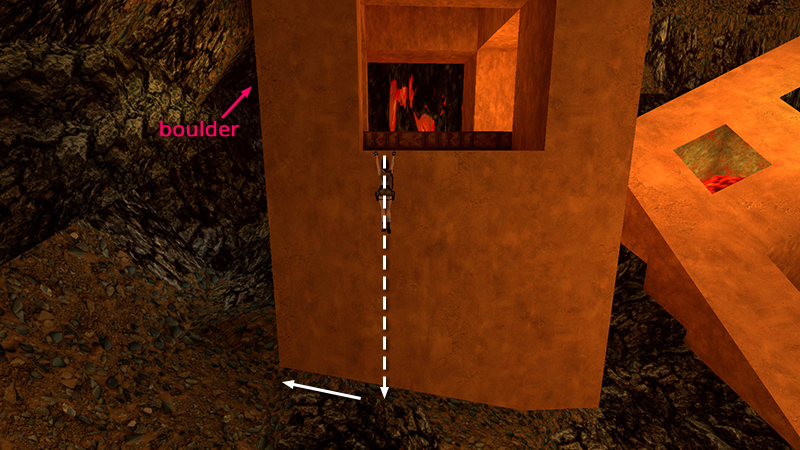
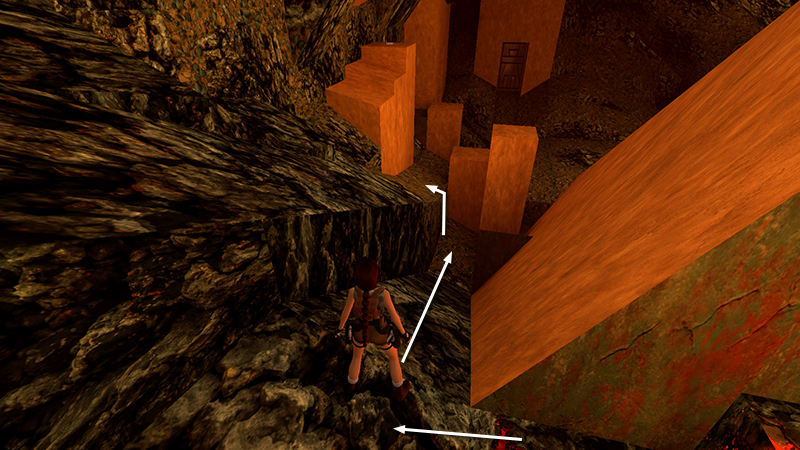
Turn around and safety drop to the ground. Before going after the pick-ups in the alcove, trip a boulder trap (2/4) so it doesn't hurt you later. Approach the southwest corner of the tower.
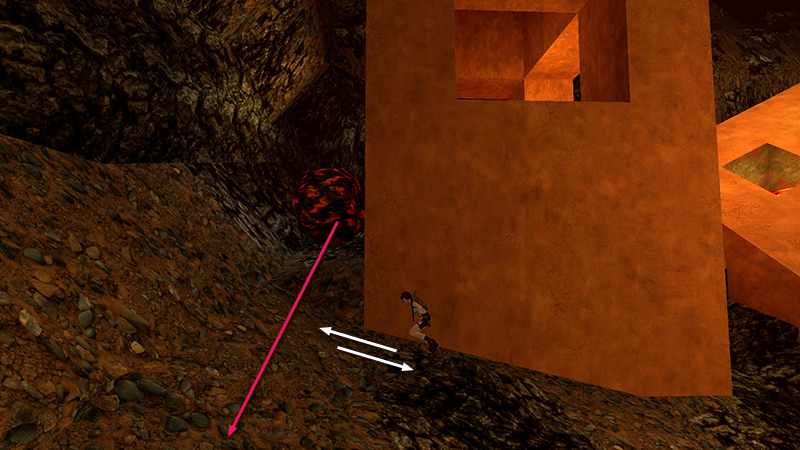
Step out beyond the corner to trigger the boulder, then quickly hop back out of the way.
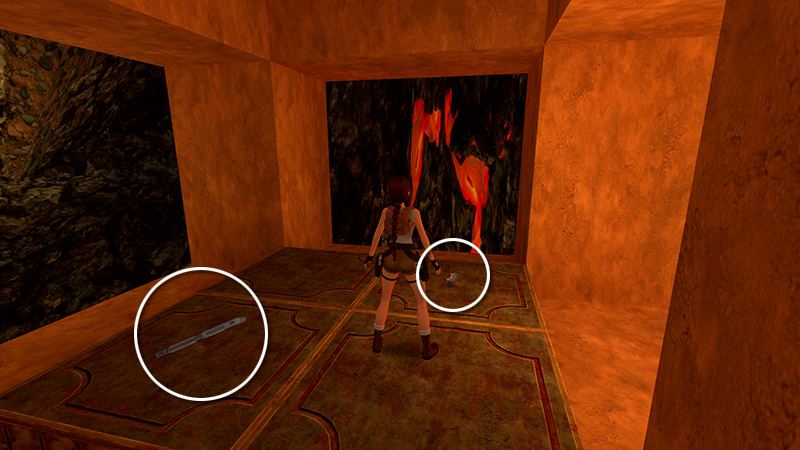
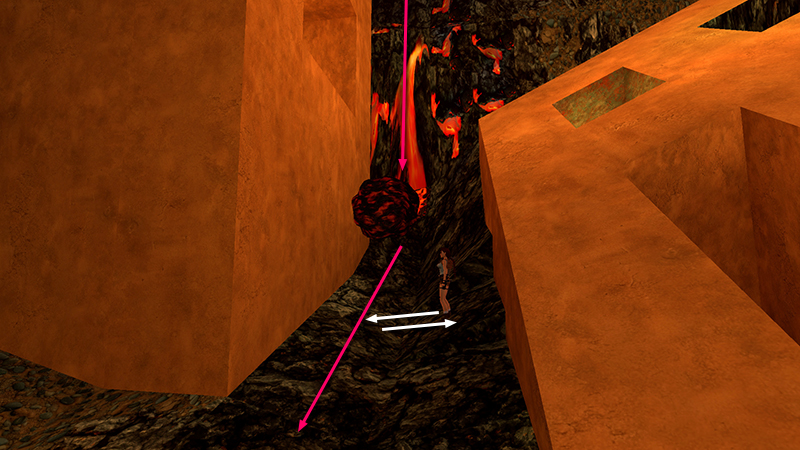
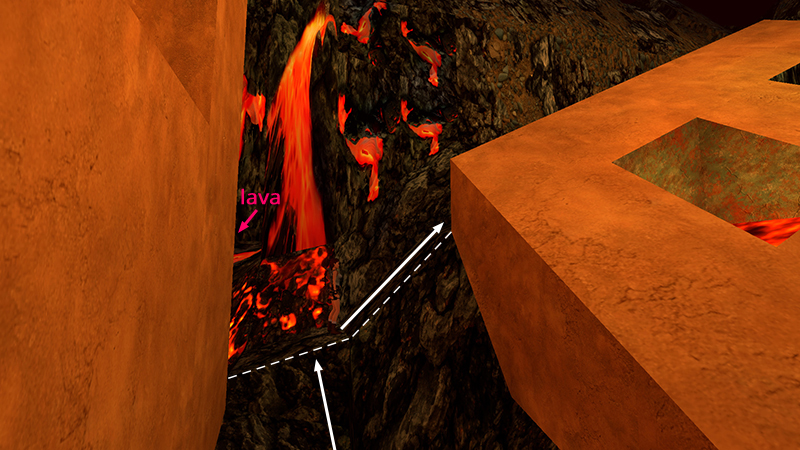
When the boulder lands, head past it toward the tiled alcove. Stay to the right of the two sandy columns supporting the alcove ceiling. If you go any farther to the left, you'll spawn a running mutant (4) on the right side of the alcove. (The trigger tiles are beyond the dashed line in the screenshots above and below.)
Grab the shotgun shells (8) and then climb onto the low block with large medi pack (9).
The mutant then appears in the far corner of the alcove. It doesn't have any ranged attacks, though, so you can shoot it from the safety of this low pedestal.
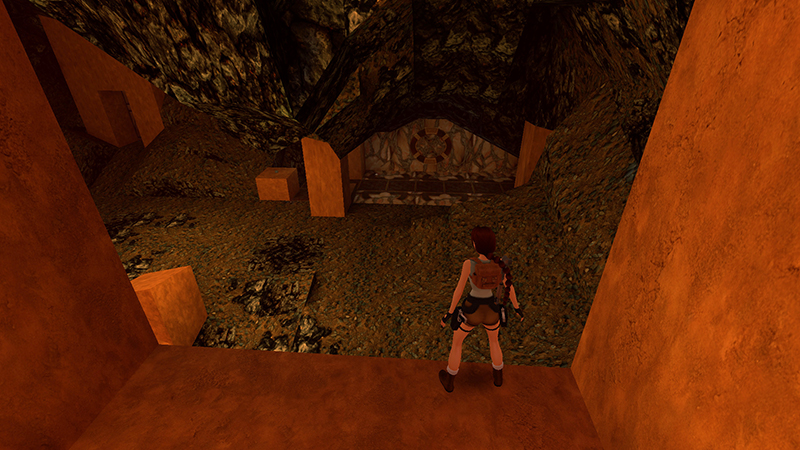
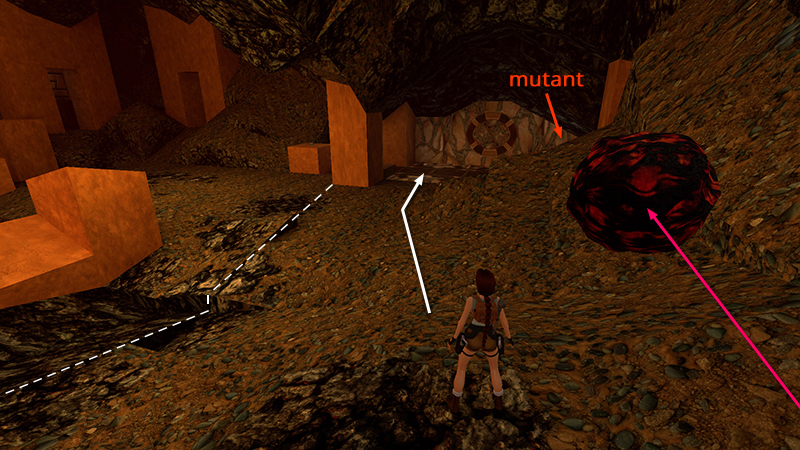
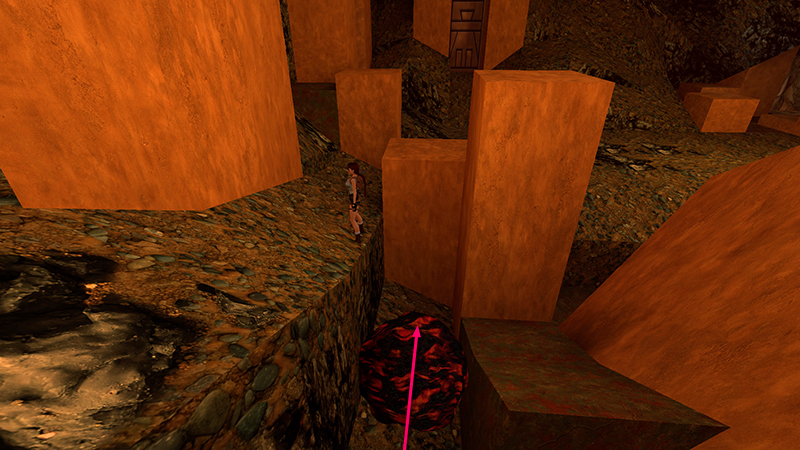
When the coast is clear, start up the slope between the tower and the honeycomb structure, staying closer to the honeycomb.
When you pass the corner of the tower, turn left and step onto one of the tiles next to the tower to trigger another boulder trap (3/4). Quickly hop back toward the honeycomb structure to get out of the way.
After the boulder passes, continue to the top of the slope and turn right. (Watch out for the lava pool on the left.) Stand at the base of the steep slope behind the honeycomb structure and take a standing jump to the flat spot above.
Vault onto the step ahead and pick up more shotgun shells (10). Then continue forward toward the next corner.
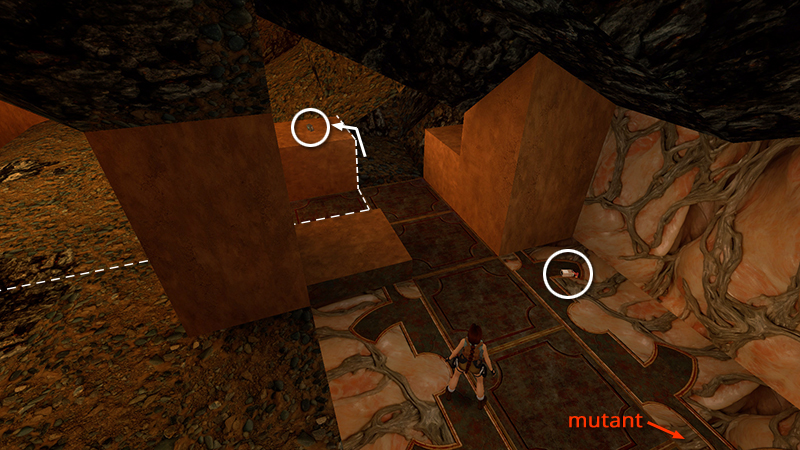
Turn right and head down the slope. (The honeycomb is now on Lara's right.) At the bottom of the slope, pull up onto the ledge on the left...
...to avoid another boulder (4/4). There doesn't appear to be any hurry here, since the boulder only rolls after you pull up onto the ledge.
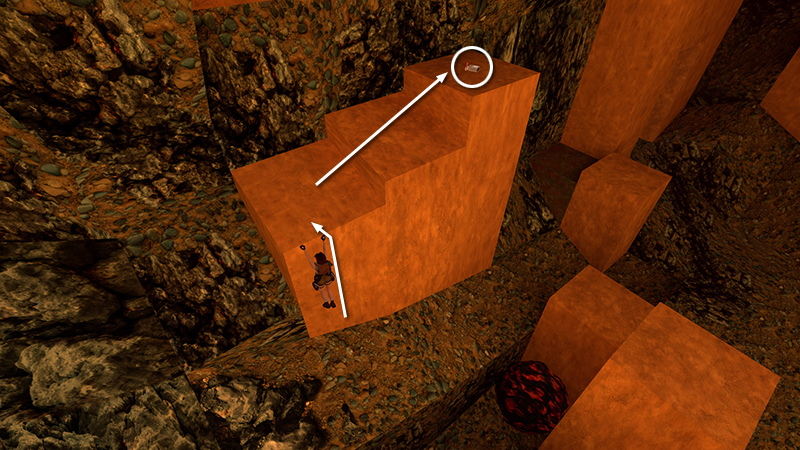
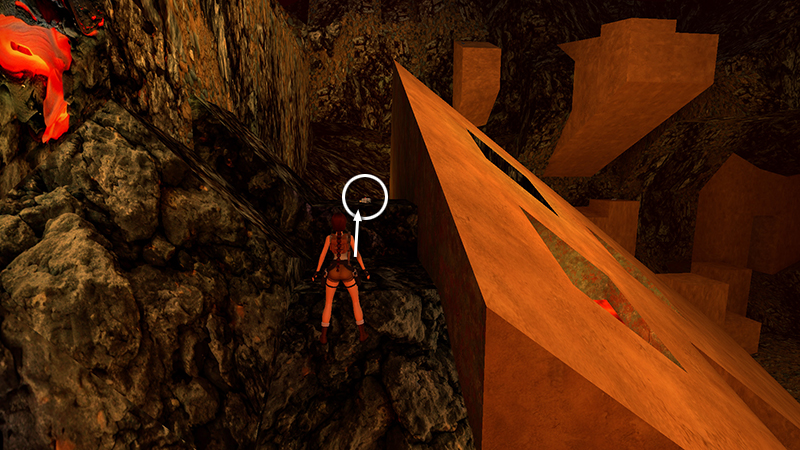
There's a ledge made of three tall, tan blocks straight ahead. Climb onto the one on the left, the only one Lara can reach from below. Move to the highest block, where you'll find more shotgun shells (11).
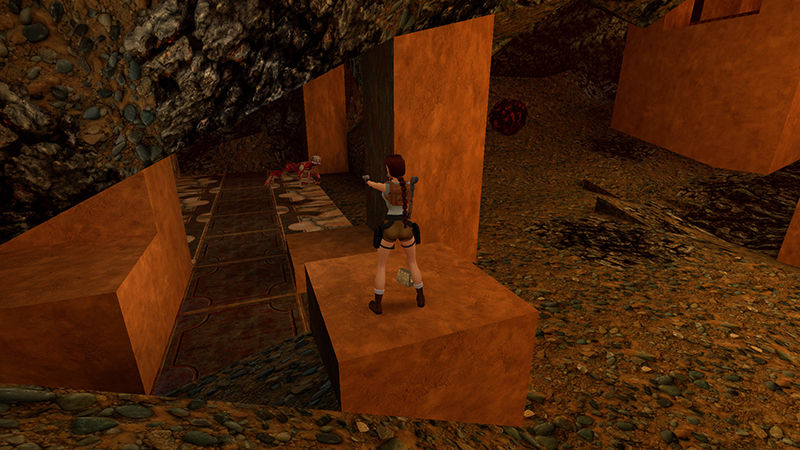
Then shoot down another flying mutant (5) that appears near the tower. (If the mutant gets stuck up near the ceiling, you may need to climb down to get its attention. Just be careful not to approach the gold doors in the southeast corner yet, since this triggers another mutant, described below.)
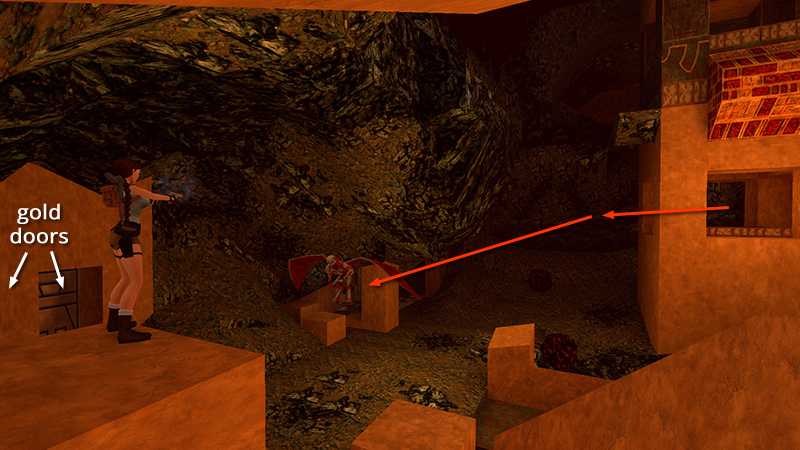
Now climb down and head for the gold doors in the southeast corner. Approaching the left door spawns another running mutant (6) in the tiled alcove in the southwest corner of the cave.
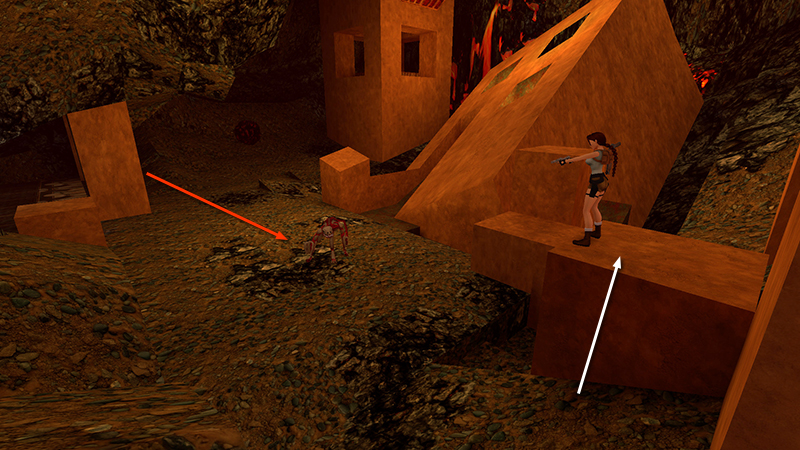
It doesn't shoot fireballs or darts, so you can climb onto any of the low blocks to kill safely.
DARK MODE: I plan to add optional dark mode for these pages, but my current priority is updating the walkthroughs. Meanwhile, may I suggest a reputable dark mode browser extension, such as Dark Reader? (Download only from trusted sites, like darkreader.org or your browser's official add-on/extension site.)
Walkthrough text and diagrams copyright © Stellalune (email ). Feel free to copy or print this walkthrough for personal use. By all means, share it with friends, but please include this credit line so people can send me their feedback. No part of this walkthrough may be reproduced on another site without permission.