The Submarine - Kitchen and Mess Hall

After making your way through the ventilation ducts and opening the trapdoor above the KITCHEN, as shown in the previous section, drop down near the stove. Watch out for the lit burners. If Lara stands on them, she'll catch fire.
Now be sure to move quietly. If the cook (not counted as an official kill) on duty notices Lara he'll attack with his knife, and Lara has no weapons to defend herself.
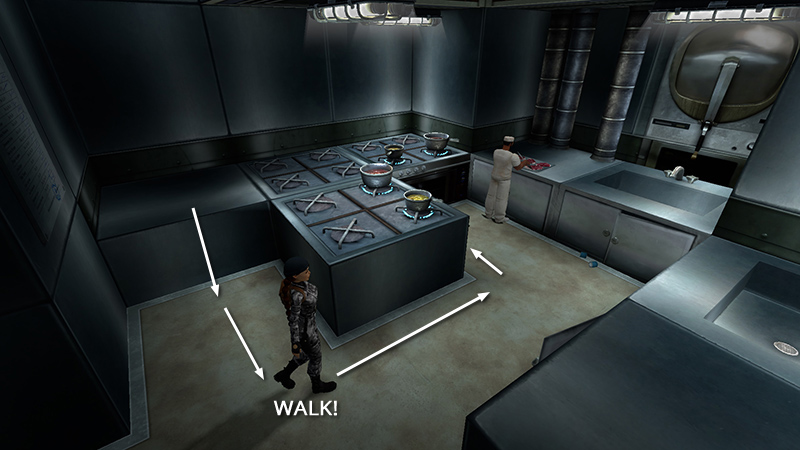
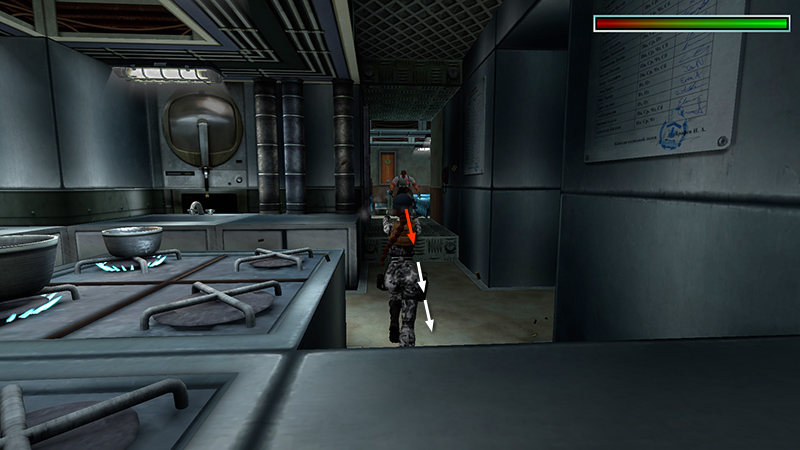
Hop down off the counter and walk around behind the cook. Stay close to the stove so Lara is out of the cook's line of sight. The safe path is indicated above.
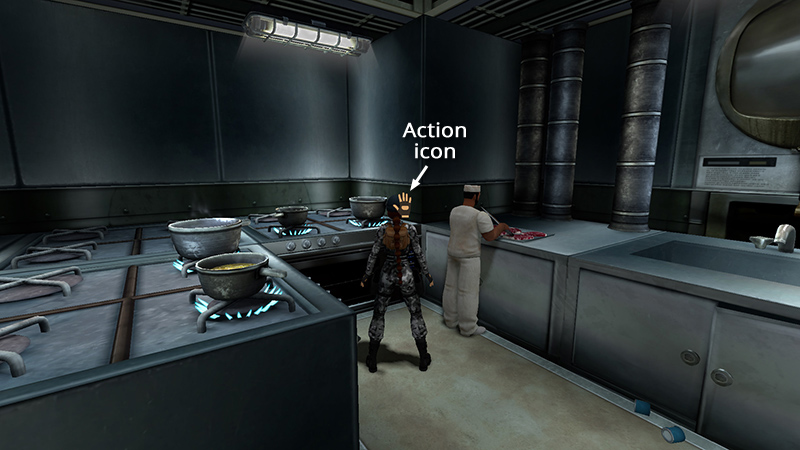
When Lara is behind the cook, but not touching him, press Action to attack. (If you have Action Indicators set to 'On' in the Options menu, you'll see the hand icon when Lara is close enough.)
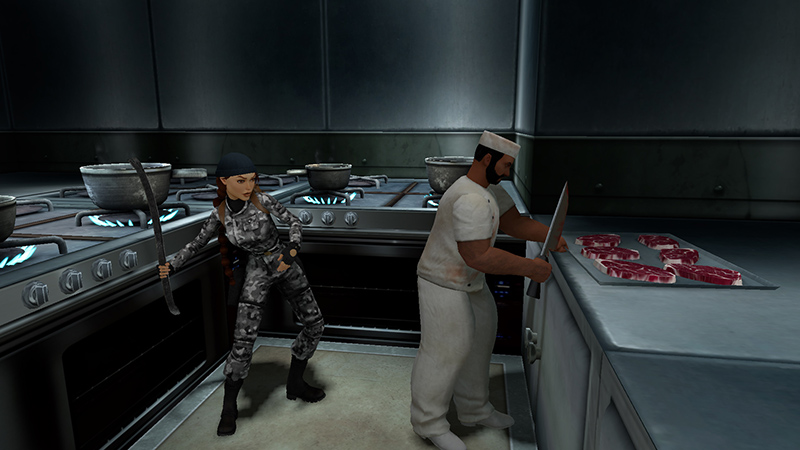
Cutscene: Lara whacks the cook with her handy handrail.
NOTE: If you accidentally attract the cook's attention and he attacks, either reload or climb up into the duct. Crawl through to the next spot where Lara can stand up. Then crawl back to the open trapdoor and re-enter the kitchen. The cook should be back at work and you can try again.
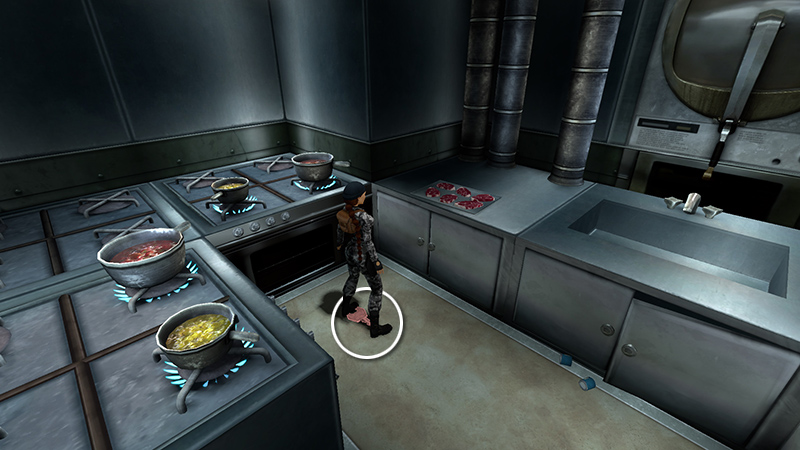
When the cook fades away, he drops a massive BRONZE KEY (6) (105/239).

Use the BRONZE KEY to unlock the metal door. (The heavy wooden door doesn't open yet.)
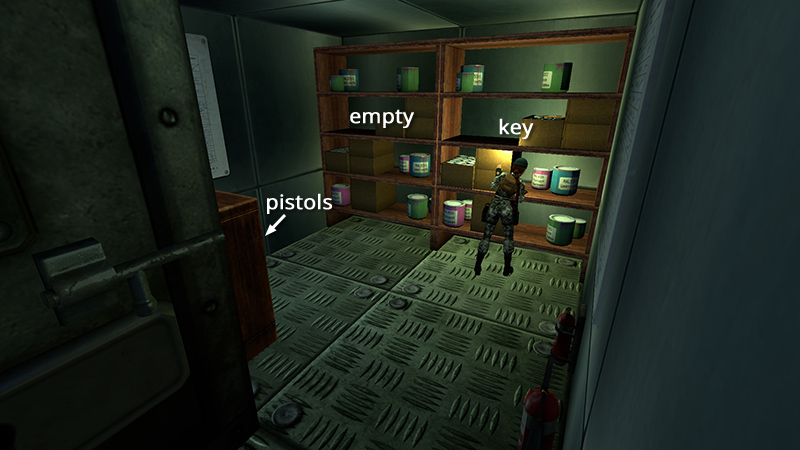
Behind the metal door is another STOREROOM. Search the shelves and drawers to find a SILVER KEY (7) (106/239) and a pair of PISTOLS (8) (107/239).
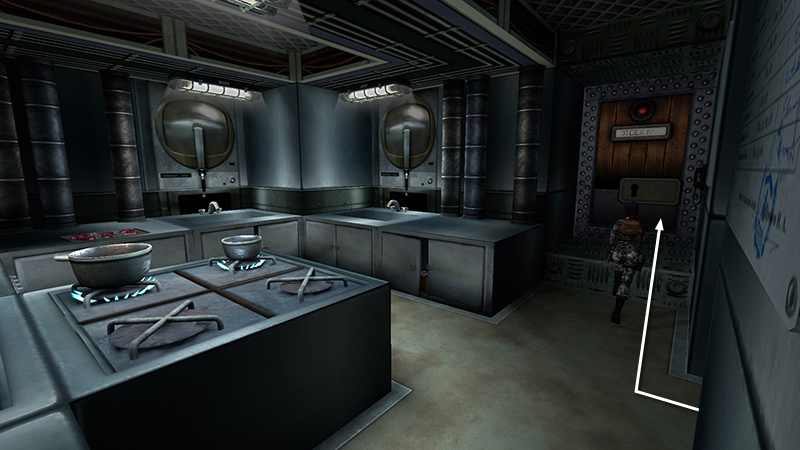
Use the SILVER KEY to unlock the wooden door.
IMPORTANT: If you're after the "I Am Invincible!" achievement/trophy, you may want to quick-save here just in case. You'll need to get through several fights without healing.
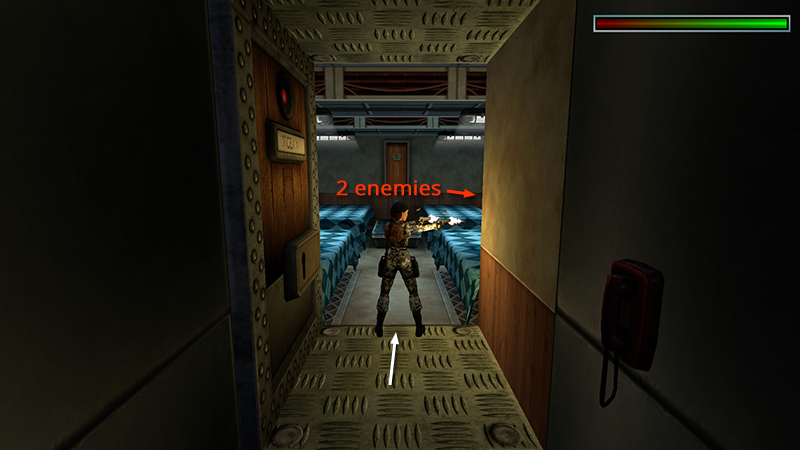
Draw those borrowed pistols because 2 of Mikhailov's goons (1-2) (26-27/62) are waiting inside on the right. If you enter cautiously, you can get a lock on one of them...
...and hop back firing.
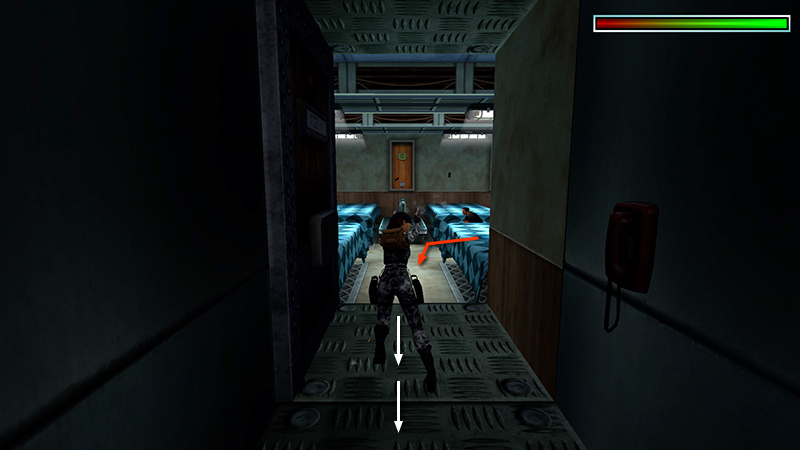
Lure him into the kitchen as you continue shooting. Then run forward, target the second man, and hop back firing. With good timing and a little luck, you can get through with no damage.
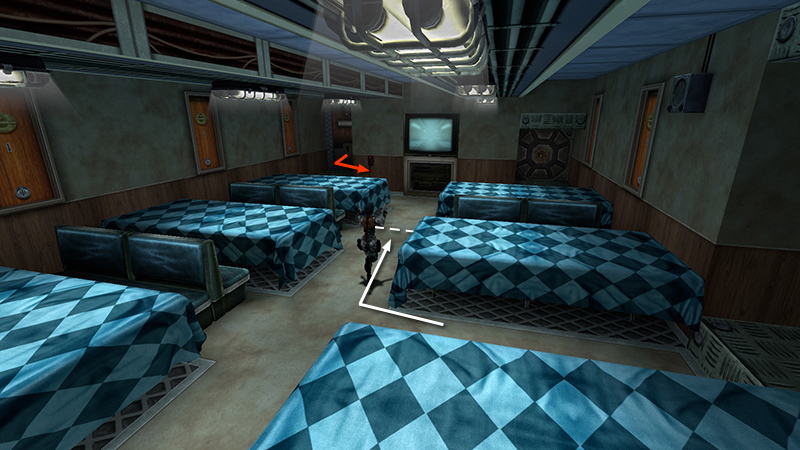
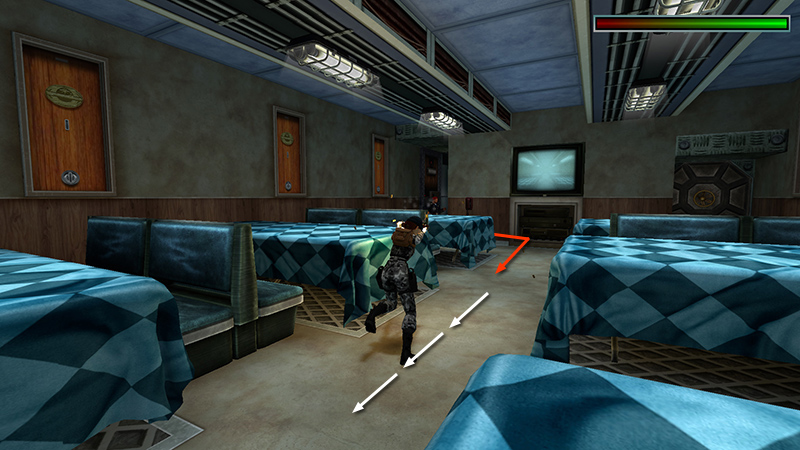
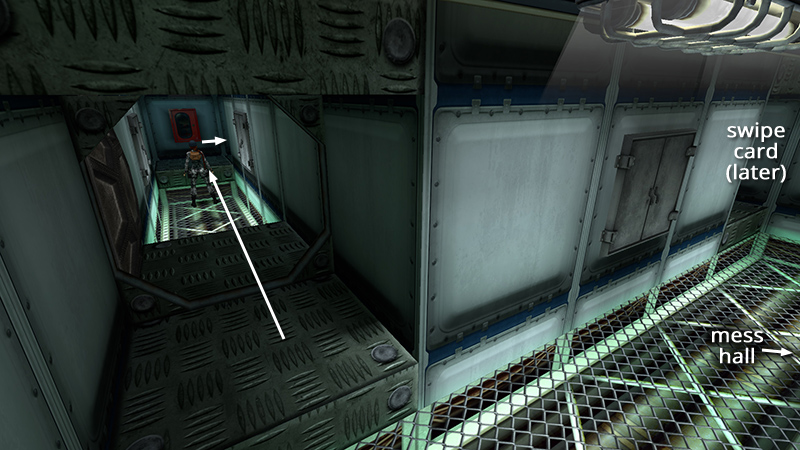
Move out into the MESS HALL and go to the right. The door to the HEAD, in the far corner opens, and a sailor (3) (28/62) emerges. (The trigger tile for the door is just beyond the broken line in the screenshot above.)
Again, target him and and hop back firing. If he's actively pursuing Lara, he's less likely to start shooting.
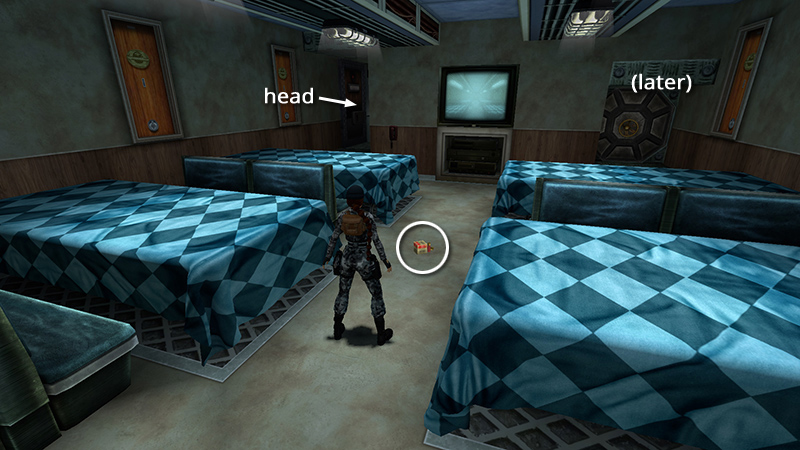
He drops a box of shotgun shells (9) (108/239) when he dies. There's nothing of interest in the HEAD, but you're welcome to go in and wash up. I wouldn't use those filthy toilets, though. (Ignore the hatch with the wheel for now.)
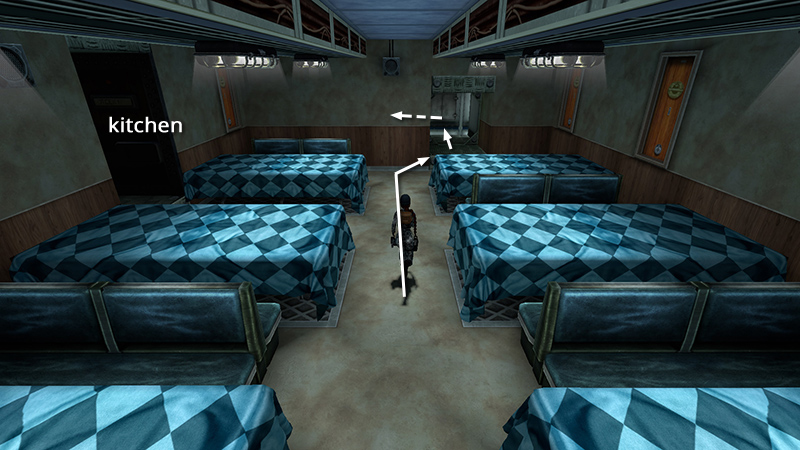
Go through the other open doorway at the far end of the room. Just ahead, the passage comes to a T. To the right is a swipe-card door. You have no card, so go left.
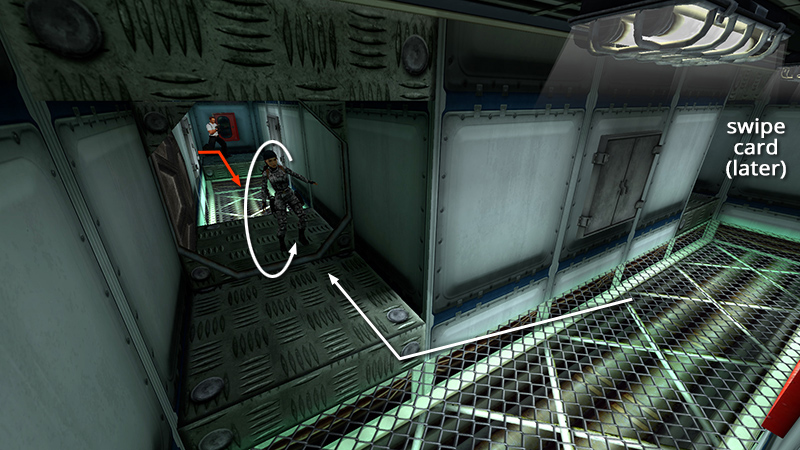
Another gangster (4) (29/62) appears when you round the next corner. He won't follow Lara all the way back to the MESS HALL, but you can get his attention, then roll...
...and run back to the T-intersection.
Then stand in the MESS HALL doorway and step out, shoot, then step back. Lara should take little damage this way.
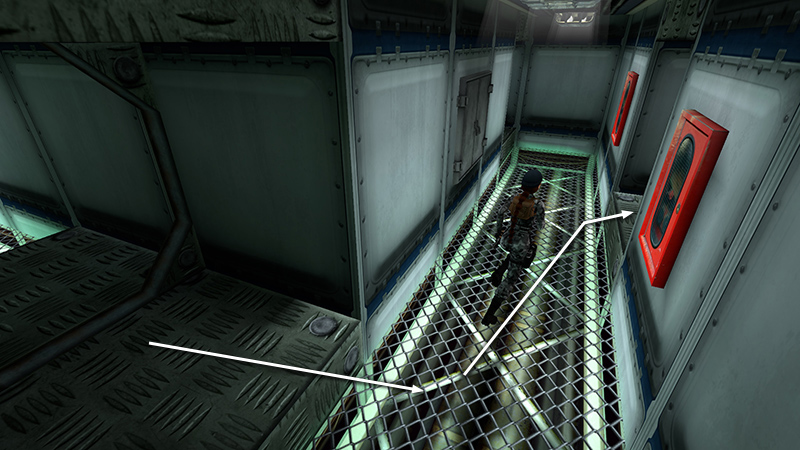
Now head for the next intersection, where the gangster appeared. The door on the left only opens from the other side...
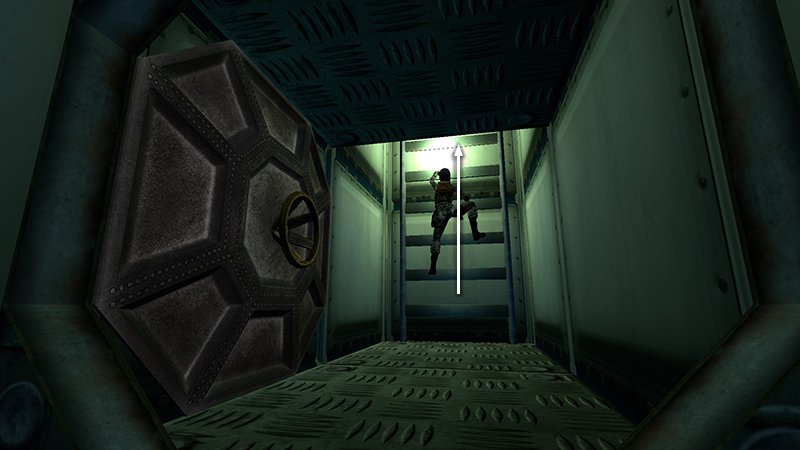
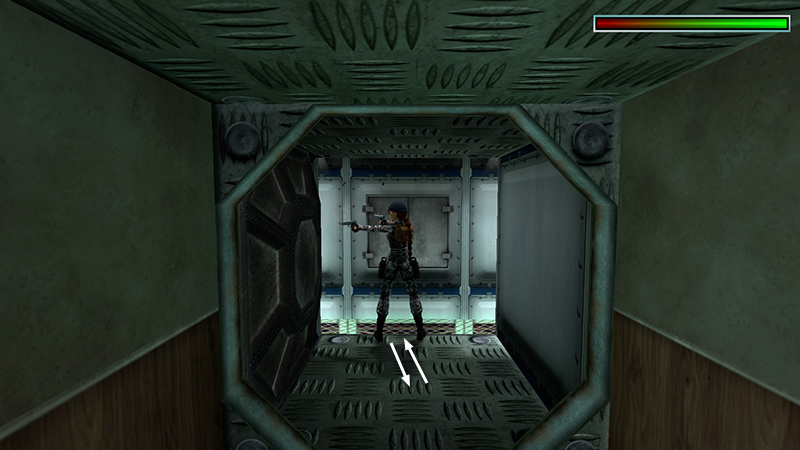
....so use the wheel to open the hatch on the right. Enter and climb the ladder.
DARK MODE: I plan to add optional dark mode for these pages, but my current priority is updating the walkthroughs. Meanwhile, may I suggest a reputable dark mode browser extension, such as Dark Reader? (Download only from trusted sites, like darkreader.org or your browser's web store.)
Walkthrough text and diagrams copyright © Stellalune (email ). Feel free to copy or print this walkthrough for personal use. By all means, share it with friends, but please include this credit line so people can send me their feedback. No part of this walkthrough may be reproduced on another site without permission.