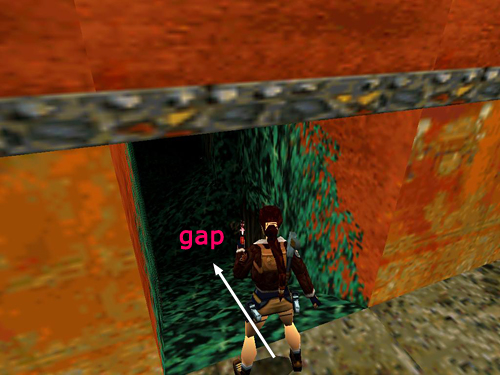
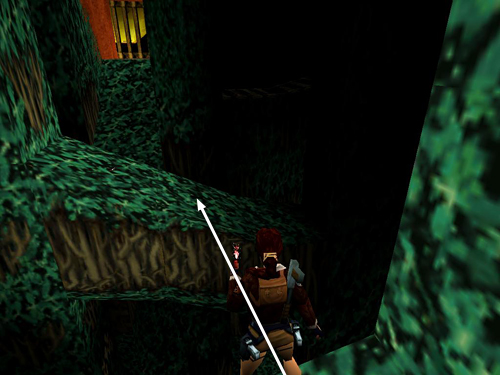
In the hallway behind the ROOM WITH THE GOLD 'X' PATHWAY, slide down the short slope lined with greenery, but don't run forward; there's a gap in the floor and it's a long drop to the pool of molten gold below.
Take a standing jump across the gap onto the sloping green ledge ahead.
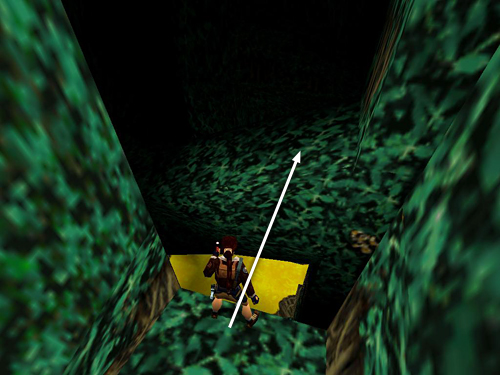
Then take a running jump to the next ledge to get the flares.
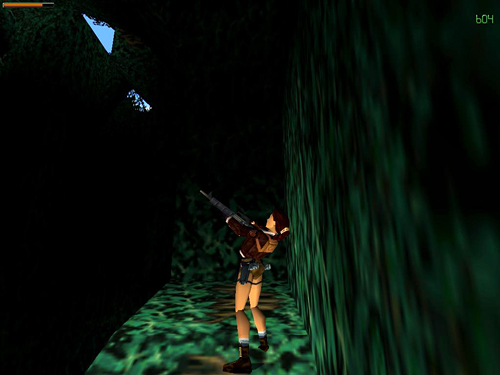
Move to the higher end of this ledge, turn around to face out over the open area. From here you may be able to target the sasquatches up in the trees using the M16. They're sneaky, though, so this could take time. Even if you only get in a few shots, they'll be easier to kill when you reach the top.
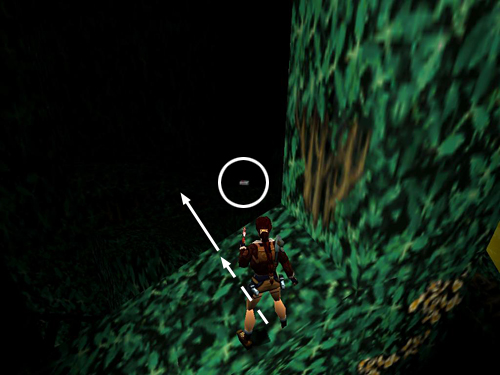
When you're ready, take a running jump back to the previous ledge, pressing Action to shorten the jump or angling slightly to either side so Lara doesn't overshoot the ledge.
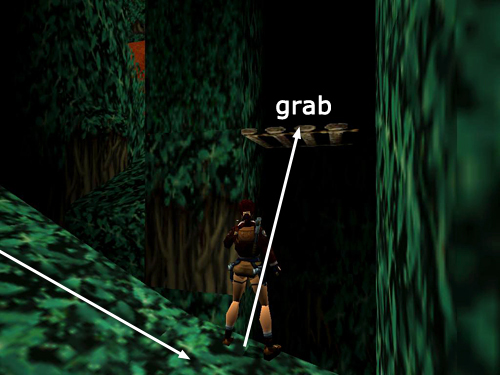
Walk down to the right, turn left, walk to the edge, and take a standing jump to grab the wooden bridge above. Pull up.

Turn around to face the ladder on the column (or possibly a square "tree") next to the bridge. If you move to the higher end of the bridge, you may be able to get another shot at the sasquatches above. If not, don't worry. Jump to grab the ladder and start by climbing down.
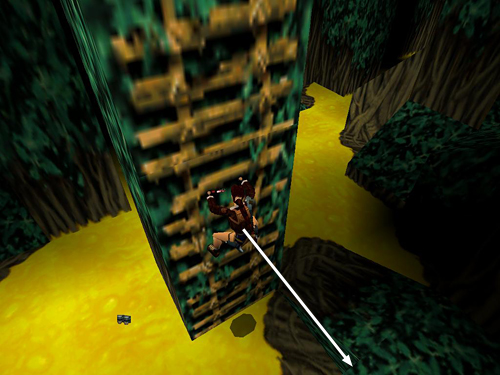
Near the bottom, backflip off the ladder to land on the ledge behind.

Take a standing jump from the BACK of the ledge to the molten gold square with 2 pairs of grenades. Despite its appearance, this square is safe; the rest of the pool is burning hot. Jump back to the ledge. Then jump to grab the ladder.
[Part 2 | Return to the Kingdom Walkthrough]
Copyright © 1999- - Stellalune (). All rights reserved. The screenshots and videos included here were made using Fraps. Feel free to copy or print this walkthrough for personal use. By all means, share it with friends, but please include this credit line so people can send me their feedback. No part of this walkthrough may be reproduced on another site without permission. Follow this link for details about this site's advertising and privacy policy.
|