While not technically a 'Secret', the UZIS are very well hidden. If you miss them or can't manage this sequence (or the alternate versions in the footnote following the main walkthrough), you will have another chance to get the guns in the next level.
Special thanks to Bill V. for sharing this method of dropping into the pit, and to Ralph Black and Stiletto for the alternate routes originally featured in this walkthrough.
The sequence below is also shown in this YouTube gameplay video.
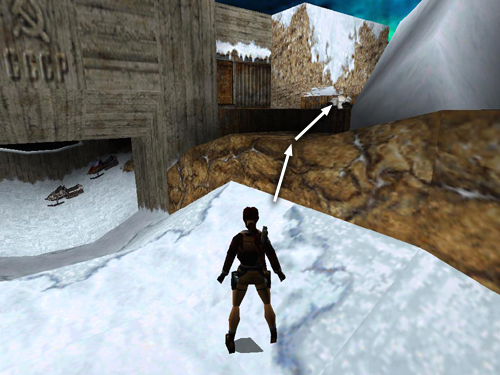
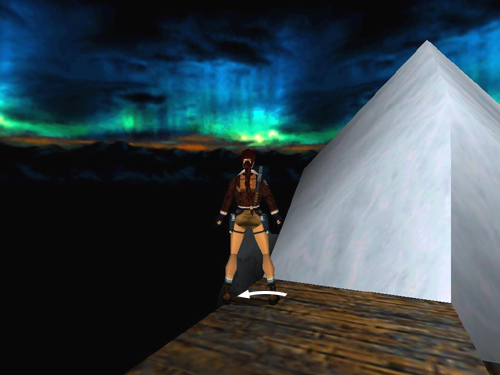
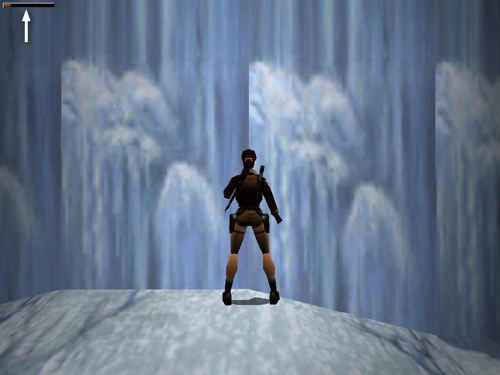
Climb up onto the wooden ledge where the last white-suited mercenary fell. (It's here on the right when facing down the slope toward the SNOWMOBILE AREA.)
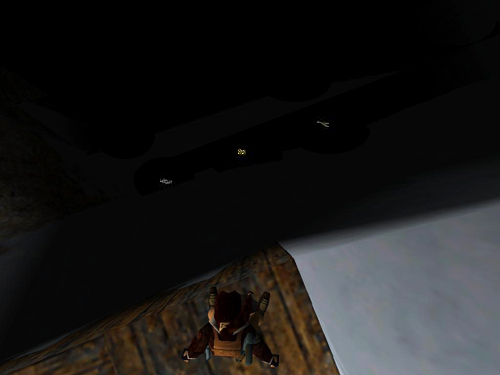
If you look over the edge into the deep pit, you'll spot some shiny goodies in the darkness. That's where you're headed.
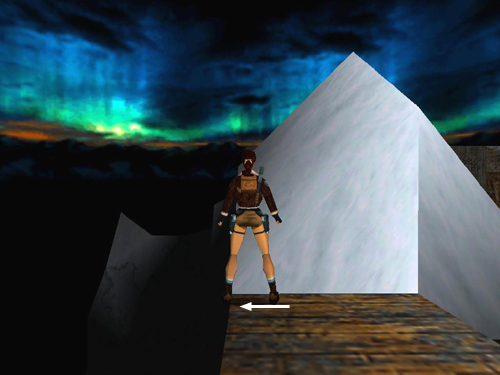
Hold the Walk button as you maneuver Lara into position for the next tricky jump. Move to the right side of the wooden ledge, turn to face the snowbank and then step as close to it and as far to the left as you can.
Take one step back from the snowbank.
Pivot just slightly to the left so Lara is facing out past the left edge of the snowbank.
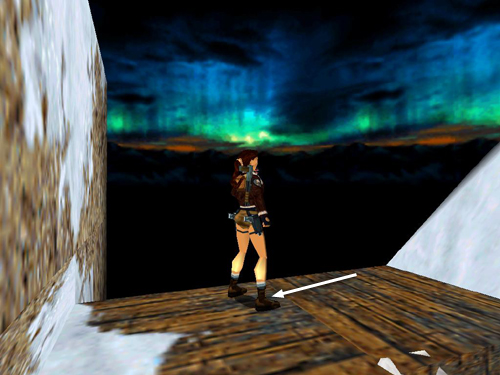
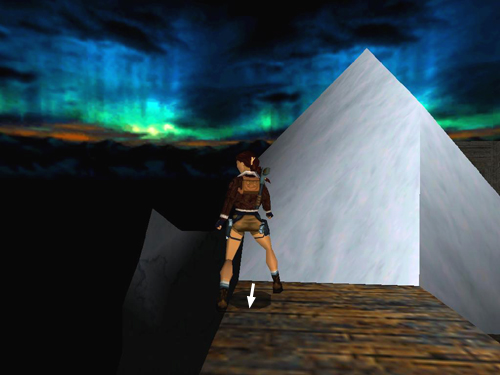
Release the Walk button and hop back just once to set up the next jump. Make sure Lara has full health, light a flare and save your game before continuing.
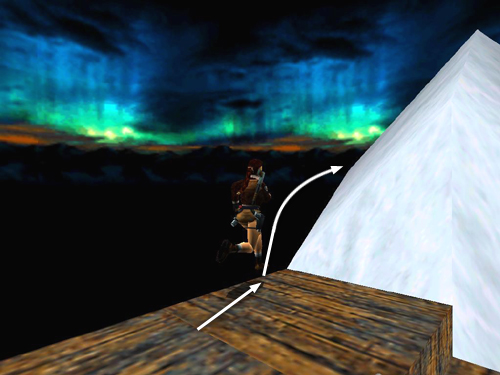
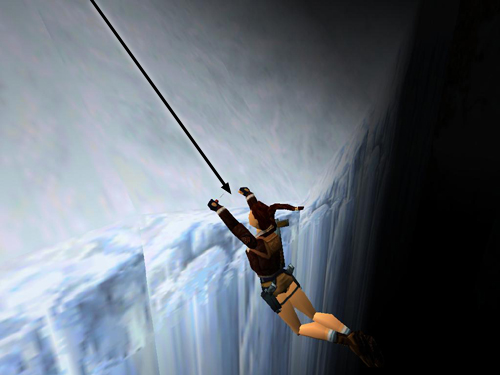
Now take that running jump, and as soon as Lara takes off, press and hold the Right direction key or press to the right on the control stick so she veers around the pointy-peaked snowbank. . .
. . . and lands on the slope just beyond it. If you release Jump but continue to hold Right the entire time she's in the air, Lara should turn enough to land facing uphill. Then Hold Action as she slides back to grab the edge.
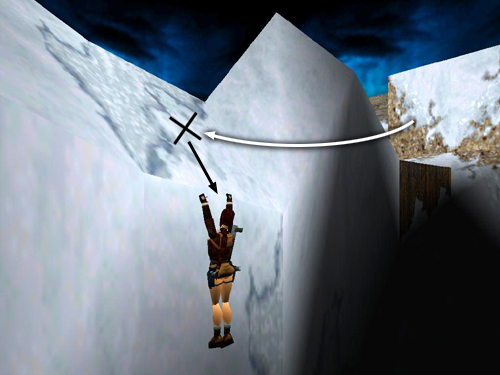
Let go, slide and grab the edge of the second icy slope below.
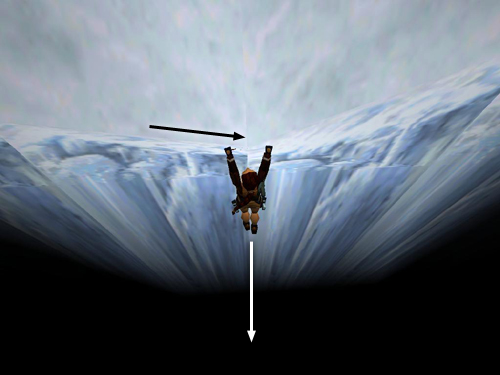
Now traverse to the right into the V where the two adjacent slopes meet. This spot is slightly lower than the rest of the ice wall, so you can let go. . .
. . . and drop into the pit without dying.
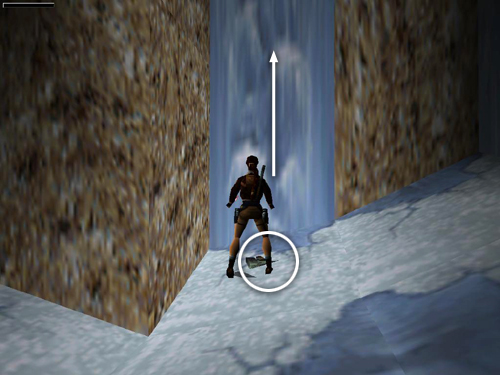
Pick up Uzi clips, a large medi pack and the UZIS! Climb the ice ladder near where the Uzis were lying and you'll emerge back in the SNOWMOBILE AREA.
[Return to the Cold War Walkthrough]
Copyright © 1999- - Stellalune (). All rights reserved. The screenshots and videos included here were made using Fraps. Feel free to copy or print this walkthrough for personal use. By all means, share it with friends, but please include this credit line so people can send me their feedback. No part of this walkthrough may be reproduced on another site without permission. Follow this link for details about this site's advertising and privacy policy.
|