The Great Pyramid - Final Boss: Natla
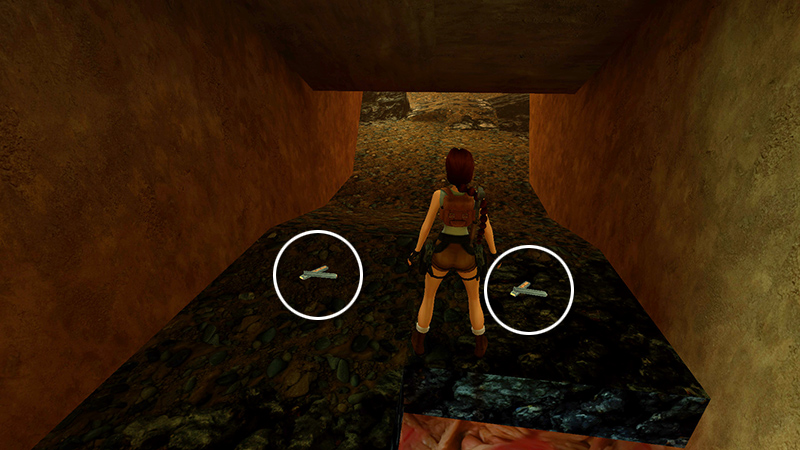
After grabbing the Uzi ammo (22-25) in the entrance to the final room—and using the final save crystal if you're playing NG+...
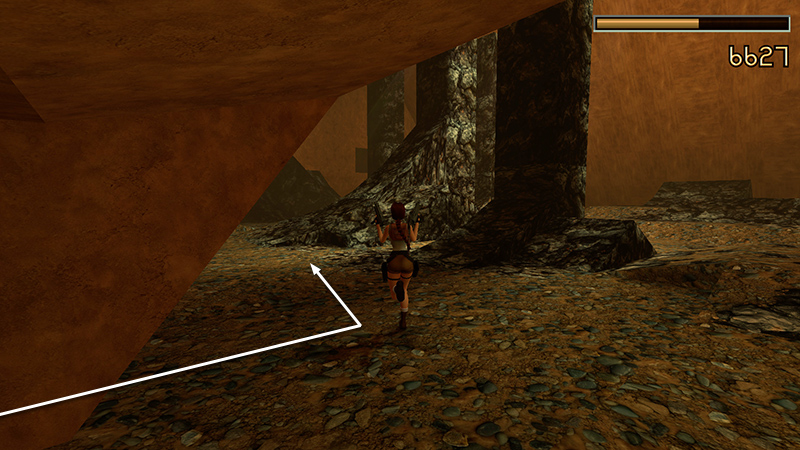
...advance with weapons drawn.
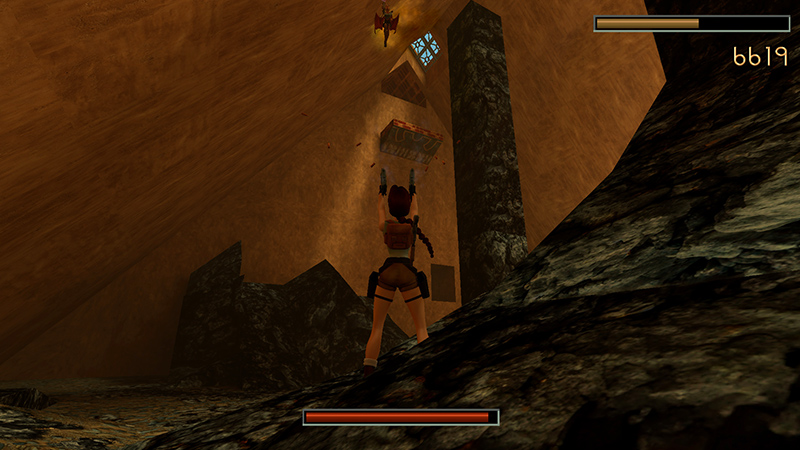
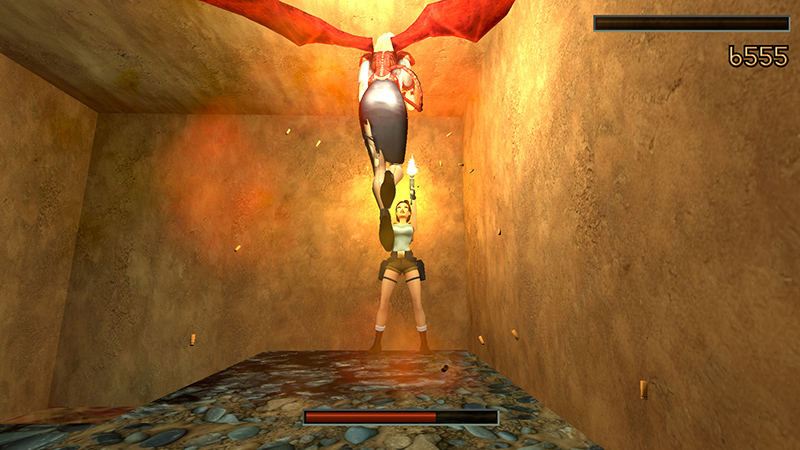
Above on the left is your old friend Jacqueline Natla. Only now she's sporting a spiffy pair of wings and shooting fireballs. Use the same basic strategy as with the centaurs: get a lock on her...

...then backflip away.
Side flip back and forth to avoid the fireballs, while holding down Action to continue shooting whenever she's in range.

She usually homes in on Lara fairly quickly and doesn't give up. But if If she flies away or moves behind a pillar, chase after her and repeat the lock on, back flip, side flip strategy.
If she descends and approaches, try to run out into the open so you'll have room to maneuver. Avoid the tunnels, since she will follow Lara inside, and don't let her pin Lara against a wall or pillar, or it'll be over quickly.

Once her health bar is depleted, and she falls, assess the situation, but don't get overconfident: Natla is not put down so easily. After about 15 seconds, she rises up again to resume the fight.
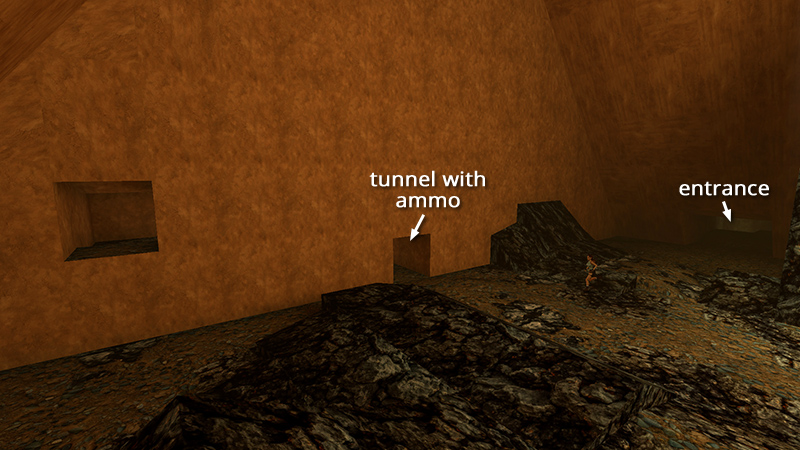
If you've been rushing through the game and are now low on ammo, while she's recovering, you can run into the tunnel in the middle of the west wall (i.e., opposite the gold ledge where Natla first appeared). Here you'll find 6 sets of Uzi clips (26-31) in two separate pickups. Unfortunately this tunnel can't be used for cover, since Natla will follow Lara inside, but you can resupply here in a pinch.
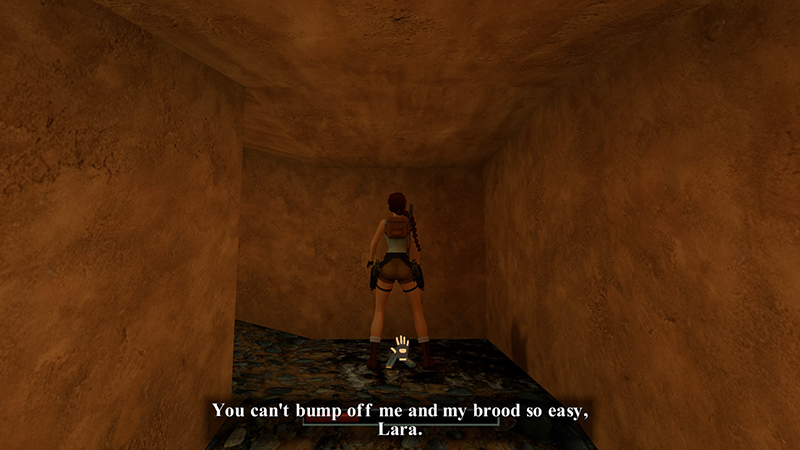
You'll hear Natla speak (or see the subtitles) when she wakes up. Hurry outside and take her on again.
WARNING: It's possible for winged Natla to "die" on the high golden ledge on the east side of the room, making it difficult to target her when she revives. There's a note in the main walkthrough about this.
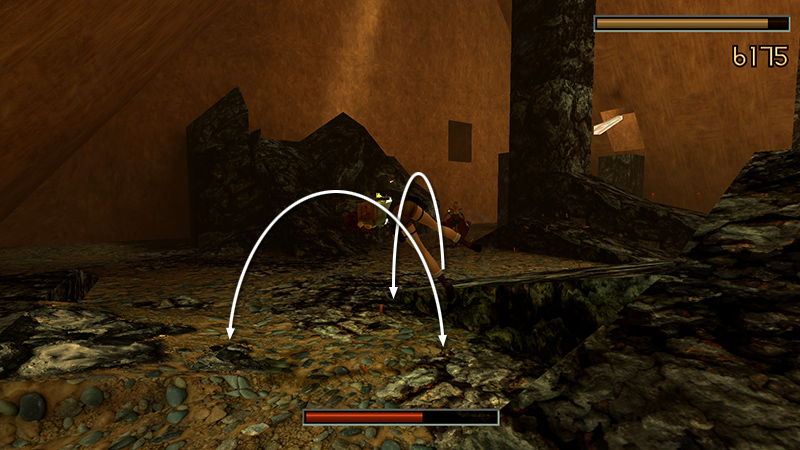
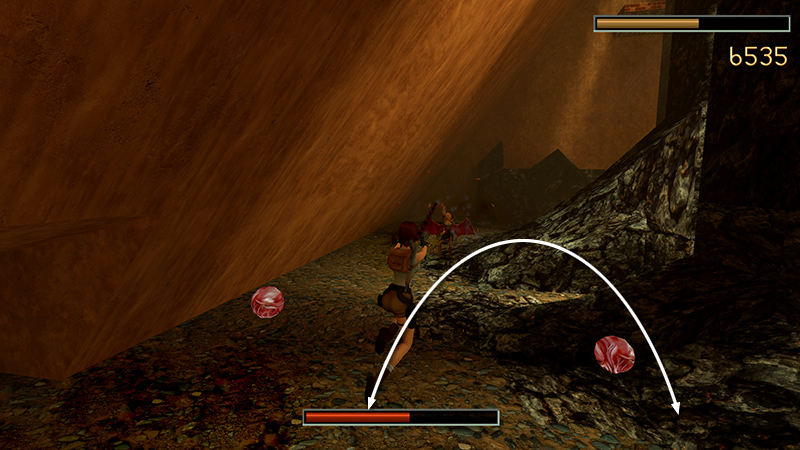
Natla: Phase Two (6) isn't able to fly anymore, but she's still plenty aggressive. This time her Atlantean contraption fires glowing energy darts. Continue to shoot at her with Uzis if possible. Backflip away and flip from side to side to dodge her projectiles, as usual.
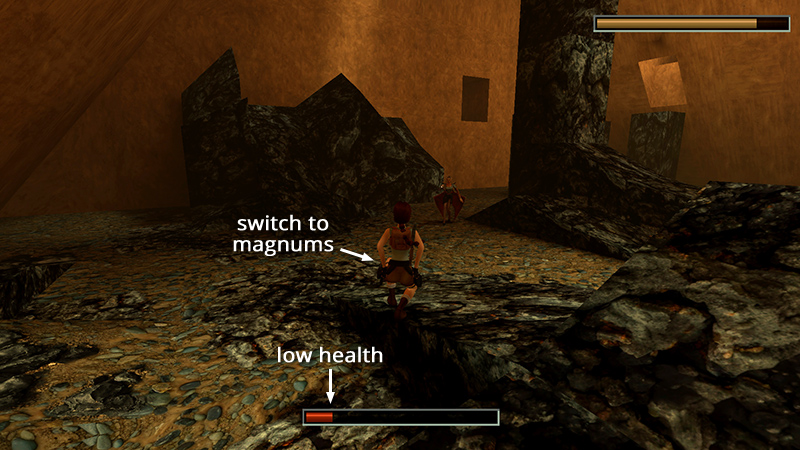
Meanwhile, keep a careful eye on her health bar. When it's almost depleted, switch to magnums for the last few shots.
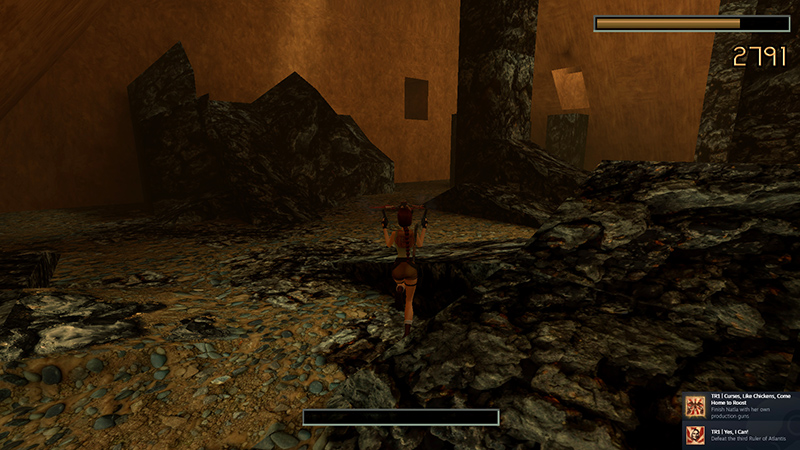
Finishing her with "her own production guns"—the monogrammed magnums you took from Pierre, and later the cowboy—unlocks the "Curses, Like Chickens, Come Home to Roost" achievement/trophy. Regardless of which weapons you use to kill her, you'll unlock the "Yes, I Can!" achievement/trophy.
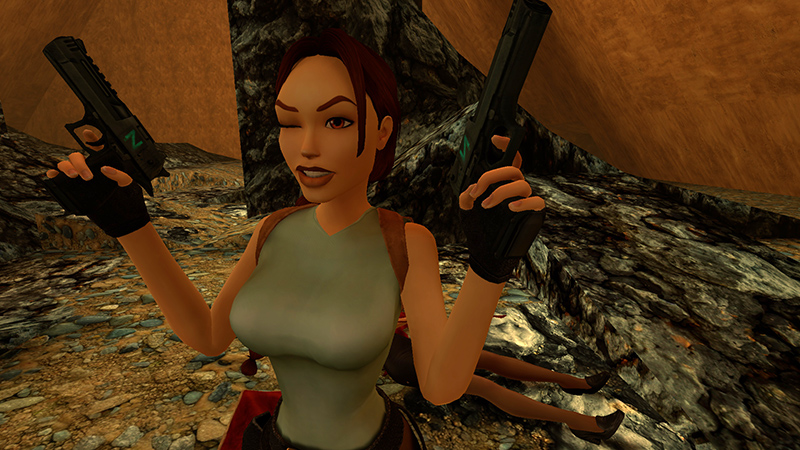
A proud owner of stolen magnums celebrates her victory.
DARK MODE: I plan to add optional dark mode for these pages, but my current priority is updating the walkthroughs. Meanwhile, may I suggest a reputable dark mode browser extension, such as Dark Reader? (Download only from trusted sites, like darkreader.org or your browser's web store.)
Walkthrough text and diagrams copyright © Stellalune (email ). Feel free to copy or print this walkthrough for personal use. By all means, share it with friends, but please include this credit line so people can send me their feedback. No part of this walkthrough may be reproduced on another site without permission.