Atlantis - Big Room with Lava Pool and Meat Bridge
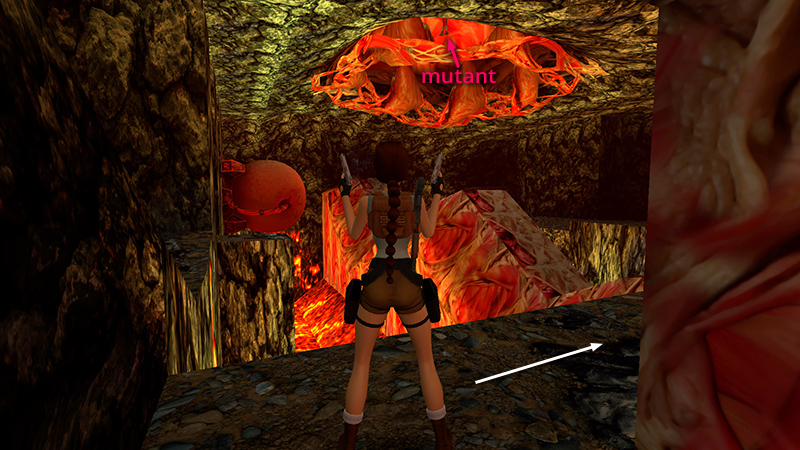
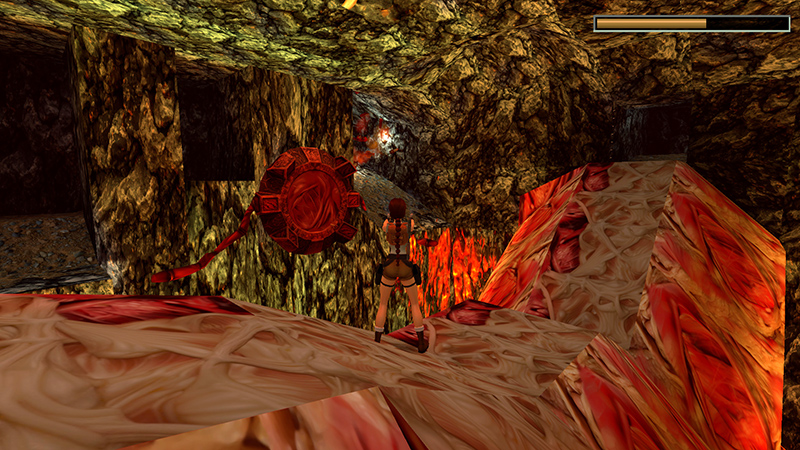
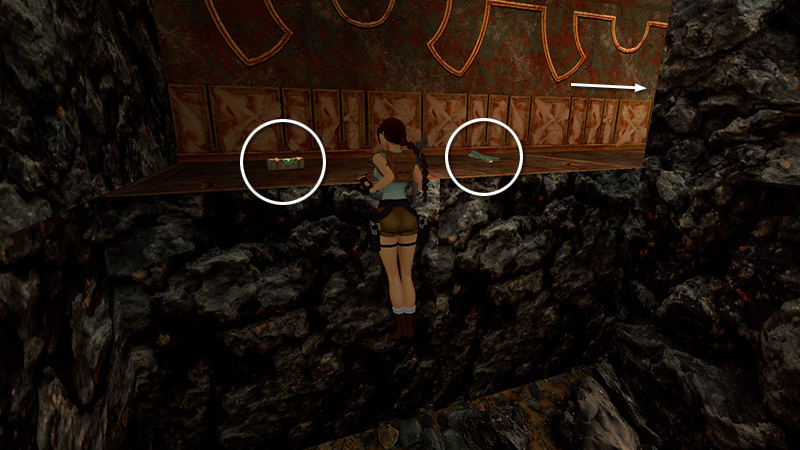
After destroying the 2 flying mutants and crossing the trench lined with spikes, as shown in the previous section, follow the passage to a ledge above a lava pool. There is an incubator on the left and an uneven bridge made of that freaky meat stuff spanning the length of the room.
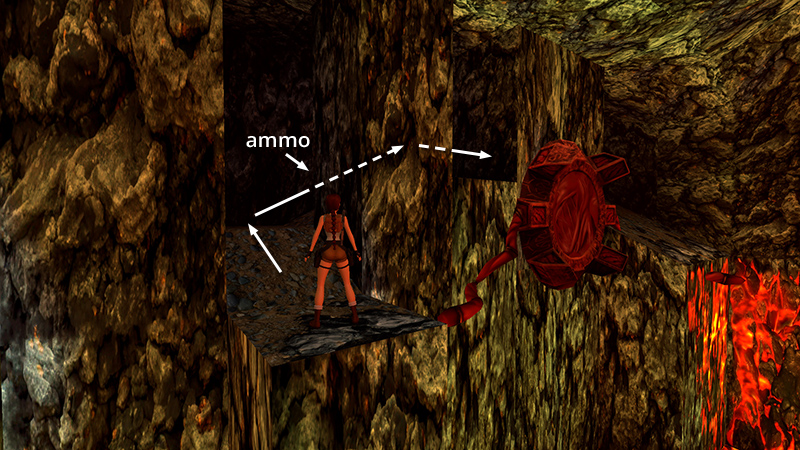
Approach the Uzi clips (30) on the ground near the end of the bridge and a winged mutant (17) drops down from the ceiling. This one attacks aggressively and will follow Lara into the fleshy passageway, so you'll probably want to kill it quickly with magnums or Uzis. Then pick up the ammo.
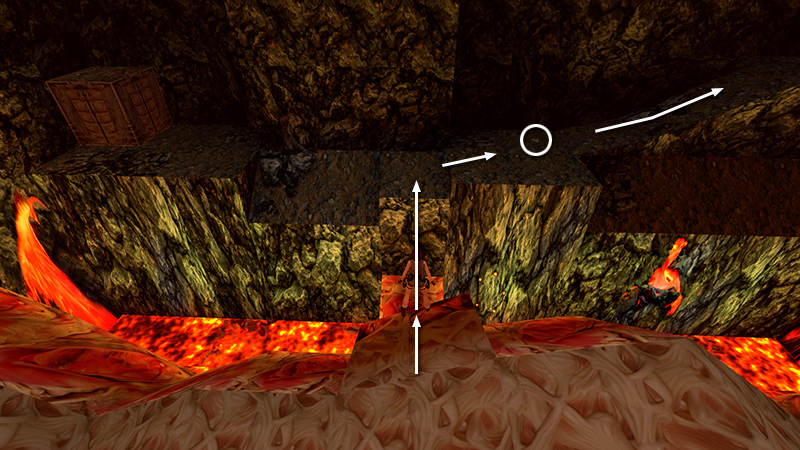
Return to the entrance and face the incubator. Take a standing jump into the alcove on the left. Move to the far end of the alcove. Then take a carefully angled standing jump onto the small, square ledge that juts out next to the the incubator.
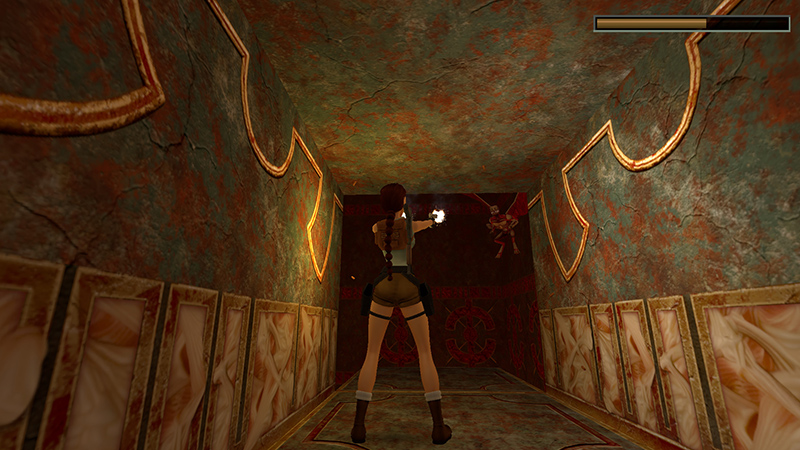
The egg hatches, releasing another winged mutant (18). This doorway is not big enough to keep the mutant out, so use the shotgun or Uzis to kill it quickly.
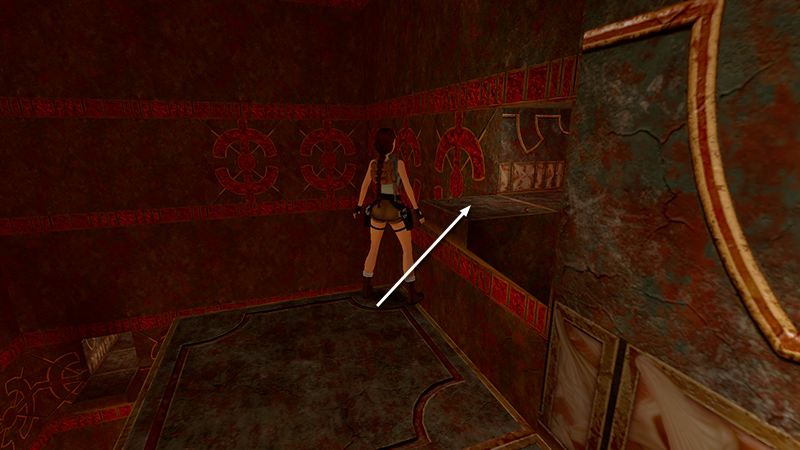
Turn around and follow the tunnel around to its higher opening, picking up more Uzi ammo (31) on the way.
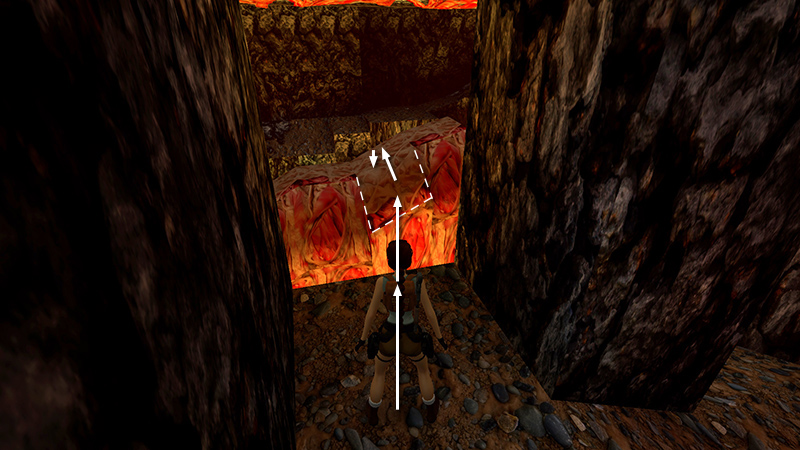
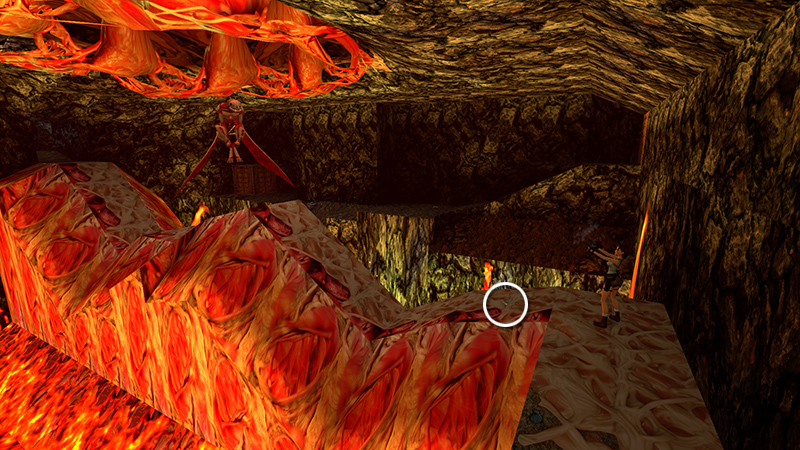
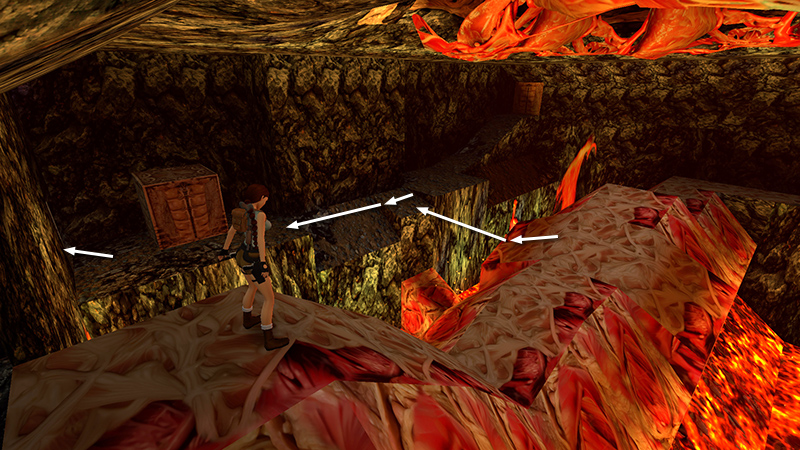
Take a running jump angled slightly to the right to land on the sloping ledge projecting from the fleshy bridge. (The slope directly in front of the tunnel opening is too steep to land on.) Walk forward onto the bridge then turn around.
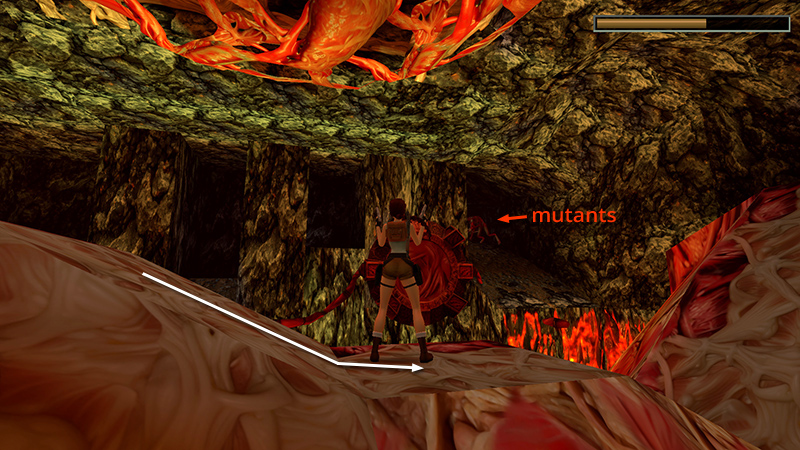
Step to the right just far enough to target the 2 mutants (19-20) in the cave to the right of the spent incubator. Don't jump around, or you're likely to slide into the lava.
Instead switch to pistols, lock onto either mutant, and sidestep back to the left so you're out of range of their projectiles.
Hold Action and Lara will shoot whenever the enemy comes within range. It shouldn't take too long before the first mutant explodes. Then repeat the process for the second.
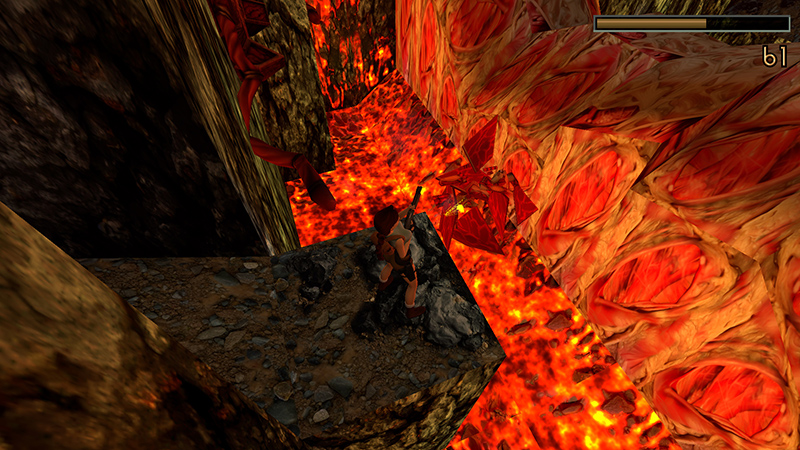
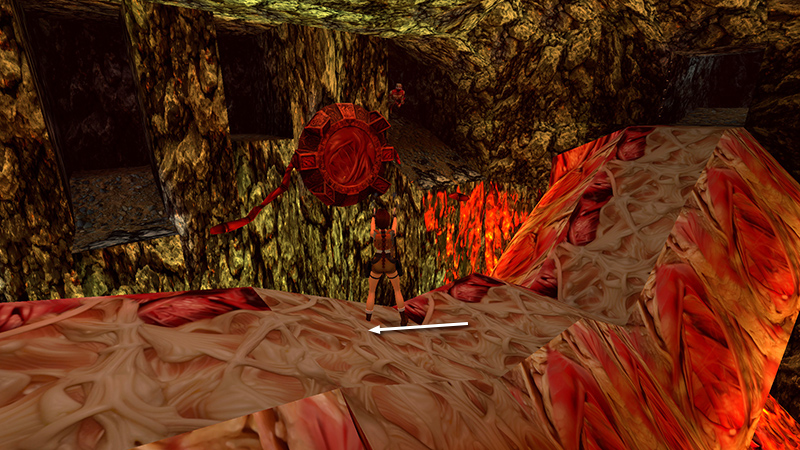
Turn around to so Lara's back is toward the empty incubator. Walk out onto the sloping projection on the other side of the bridge. (There's a fleshy area just below in the lava pool.) Take a running jump to the stone ledge on the far side, then follow the slope up to the right, picking up 3 sets of Uzi ammo (32-34) on the way.
NOTE: This one pickup should contain 3 separate items after the first patch, bringing the total number of pickups in the level to 51. If you only receive two items here, see the footnote in the main walkthrough.
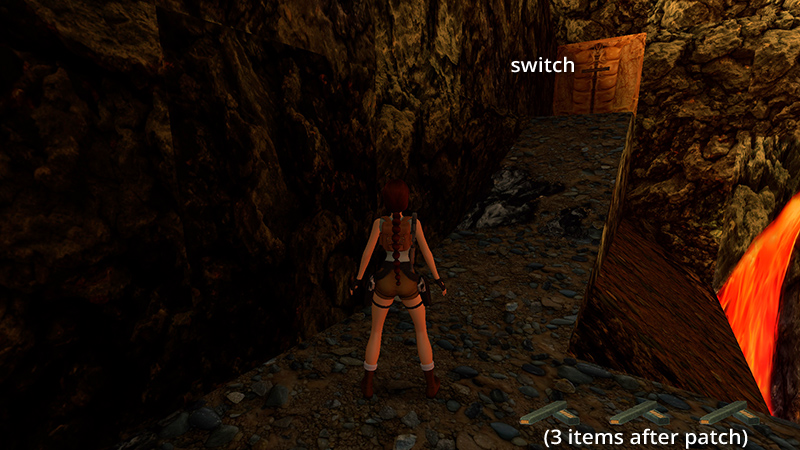
Use the switch at the top of the slope to open a door you can't see yet.
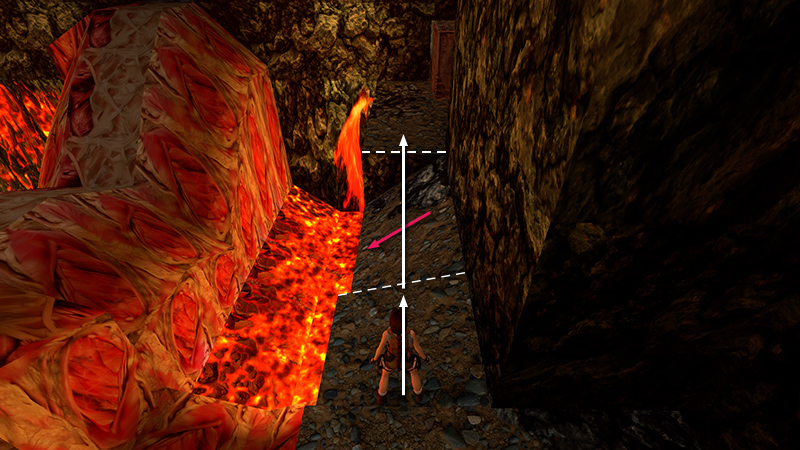
Turn around and go back down the slope. Take a running jump across the two consecutive tiles that slope down to the right. If Lara lands on either, she'll slide into the lava.
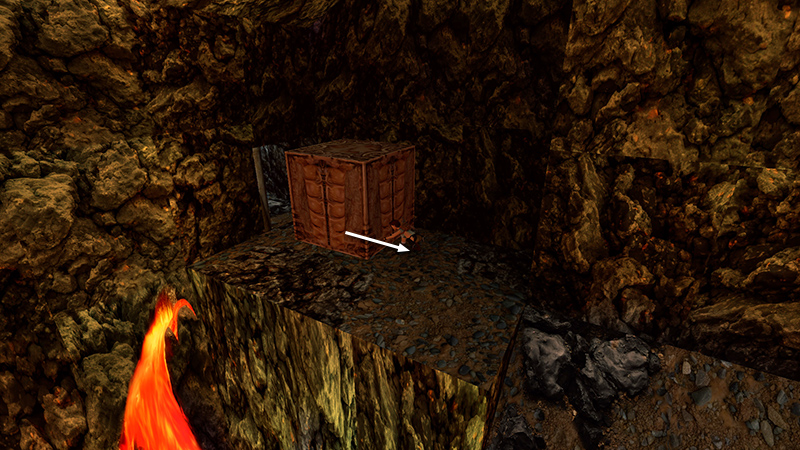
In the far right (southeast) corner of the room there's a movable block. Pull it once to uncover the door you just opened with the switch.

Enter and follow the passage up and around to a doorway with chomping blades overlooking the meat bridge. Stand close to the blades without touching them and then run through just as they begin to open, then stop.
(If Lara slides down the slope ahead by mistake, just continue forward along the bridge, jump over to the stone ledge on the left, just as you did before, then return past the block and blades once more.)
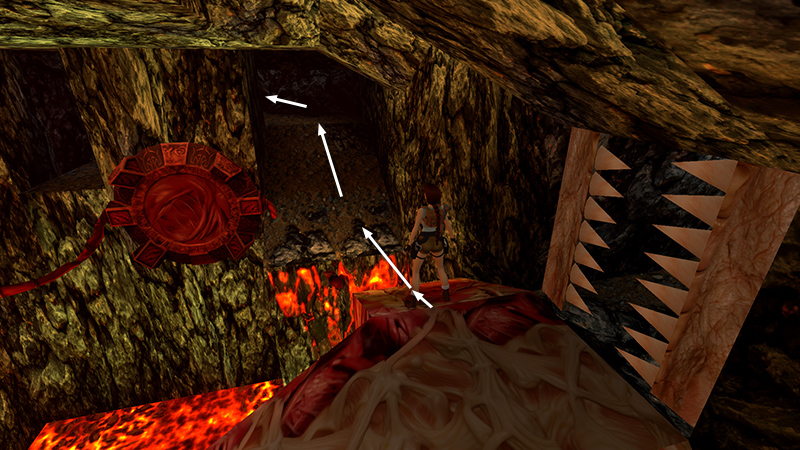
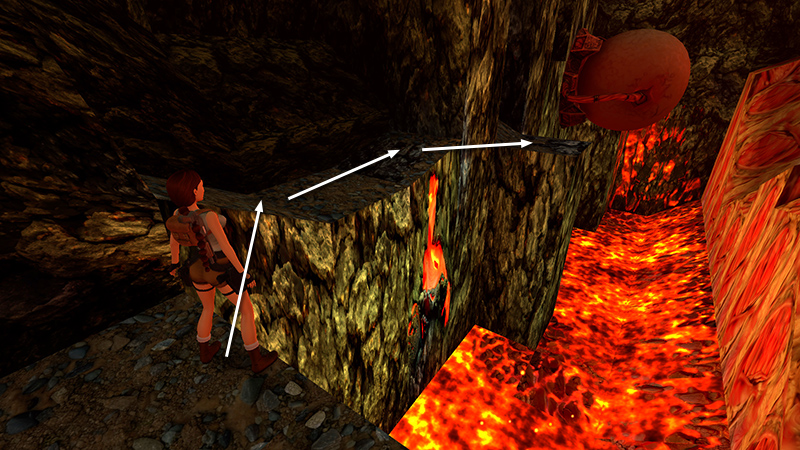
After clearing the blades in the doorway, turn right and take a running jump into the cave where the 2 mutants were. Head up the slope, turn left...
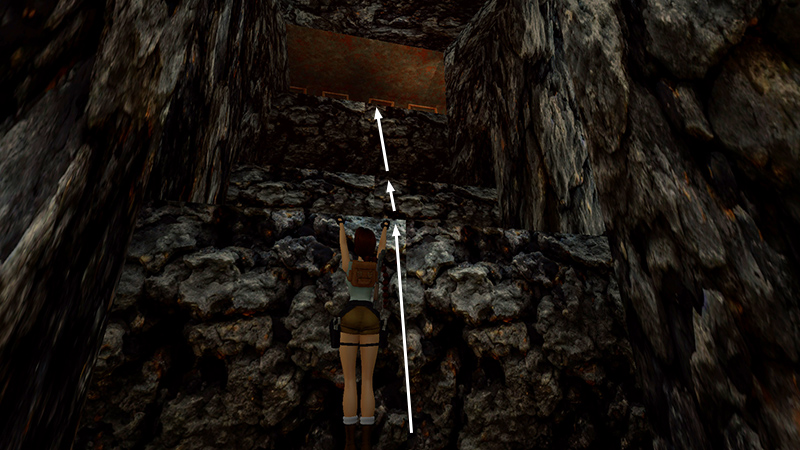
...and climb the blocks...
...to a ledge with a small medi pack (35) and more Uzi clips (36).
Follow the corridor to a another, even higher ledge in the TALL ROOM WITH LEDGES above the big lava pool. Kill another winged mutant (21) that swoops down from above.
Then jump over to the next ledge on the right.
[Previous | Next | Atlantis Walkthrough]
DARK MODE: I plan to add optional dark mode for these pages, but my current priority is updating the walkthroughs. Meanwhile, may I suggest a reputable dark mode browser extension, such as Dark Reader? (Download only from trusted sites, like darkreader.org or your browser's web store.)
Walkthrough text and diagrams copyright © Stellalune (email ). Feel free to copy or print this walkthrough for personal use. By all means, share it with friends, but please include this credit line so people can send me their feedback. No part of this walkthrough may be reproduced on another site without permission.