Cenote – Ancient Gate with Water Wheels and Spigots
West Side (part 2)
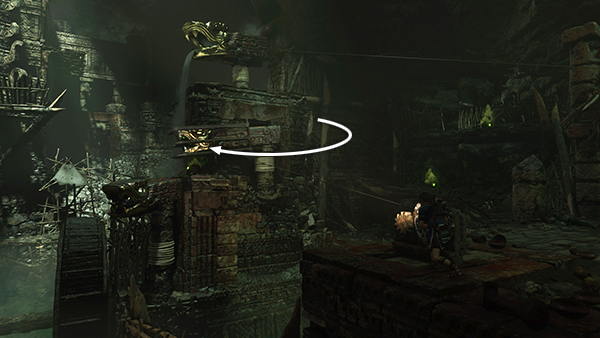
This time crank the winch in the other direction to turn the middle spigot all the way to the left, so it's aligned with the lower spigot. As you do this, a couple of Yaaxil climb around the ruins in front of you. You can ignore them for now.
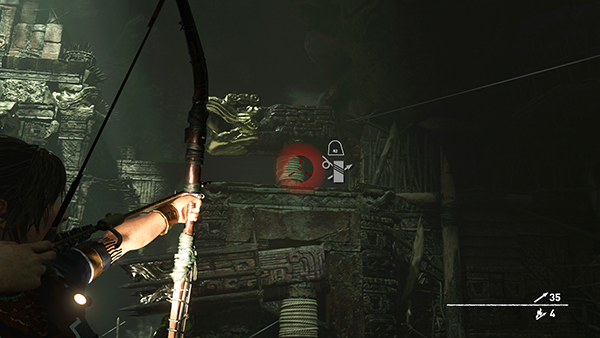
Use another rope arrow to tether the winch to the upper spigot.
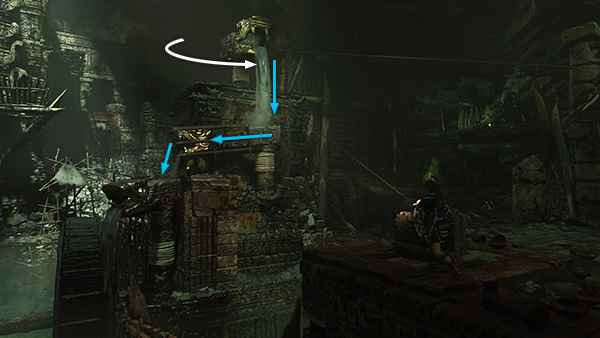
Crank the winch to turn the upper spigot to the right so water runs down into the middle spigot, then the lower one.
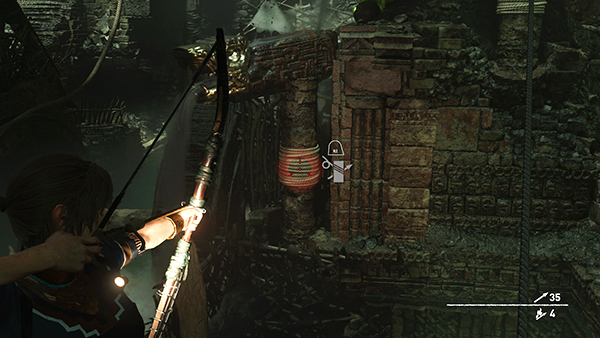
Now tether the lower spigot to the winch...
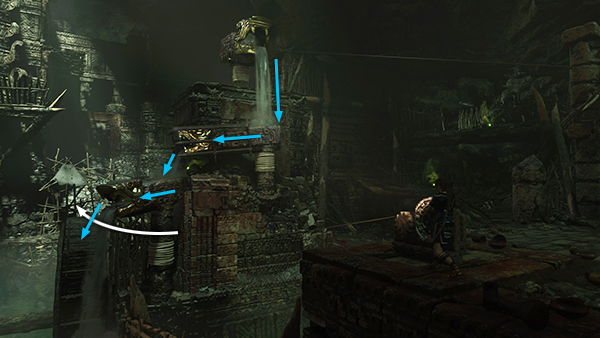
...and turn the lower spigot to the left, so the water runs down onto the wheel.
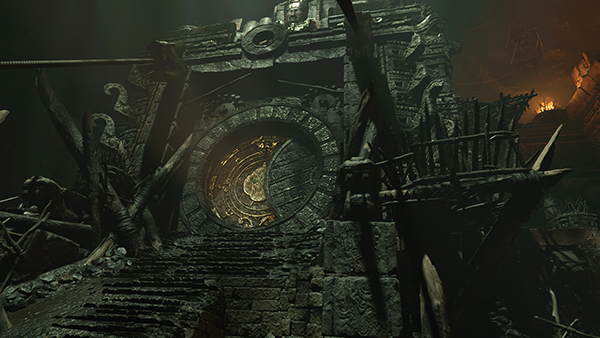
As the wheel turns, it opens the first huge, circular door. It also attracts the attention of several enemies.
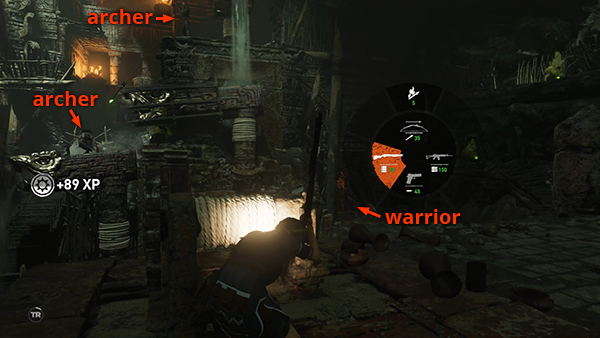
Lara takes cover behind the winch as 2 archers open fire from the ledges near the spigots. Ignore them for now. Switch to the shotgun and get ready to take on a Yaaxil warrior who climbs up onto the ledge to the right of the winch.
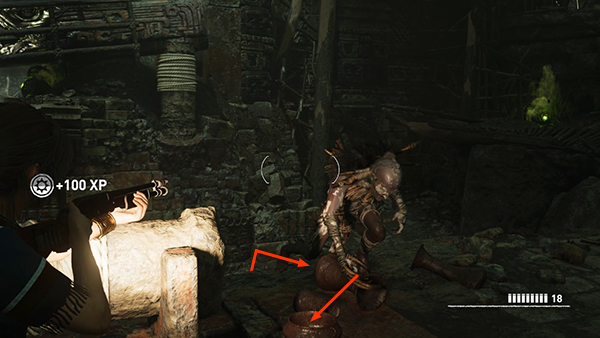
Shoot him as he charges or use the Puma's Feint maneuver described earlier.
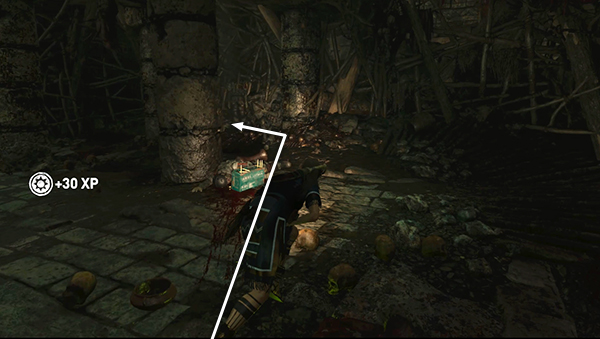
Then take cover behind the column where you found the ammo earlier.
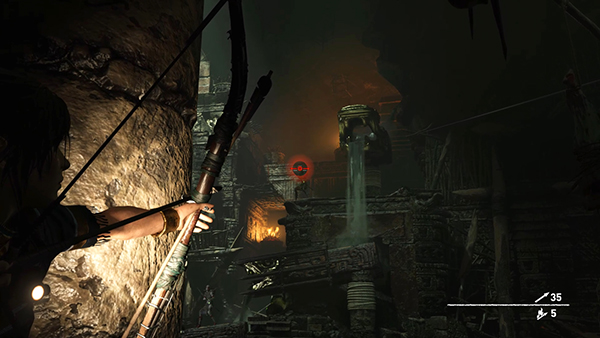
Switch to the bow or rifle, aim around either side of the column, and take out the first archer near the upper spigot. Remember, if you're behind cover and have a bad angle, press Left Shift on the keyboard or click the left stick (L3) to shoulder swap.
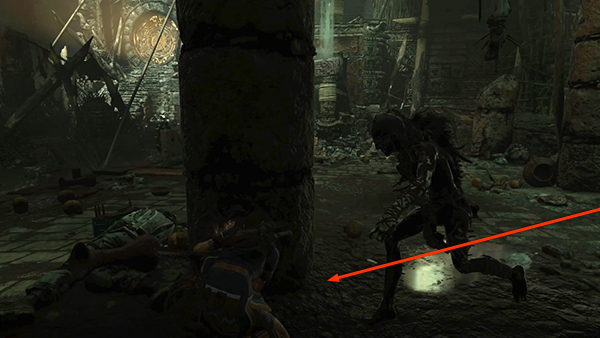
Now wait behind the column for 2 more warriors to approach, one at a time, from the right.
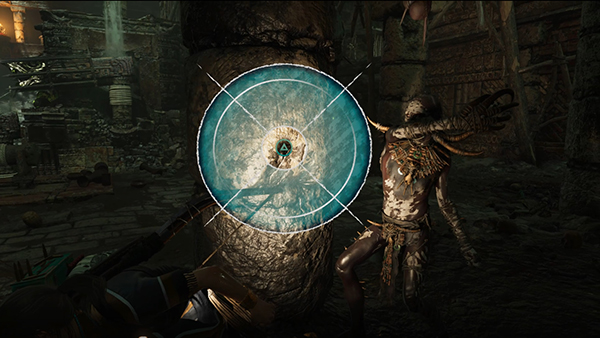
Use the Puma's Feint to dodge, then melee kill, the first one. Or, if you don't have that skill yet, shoot him with the shotgun or a pistol flare round as he approaches.
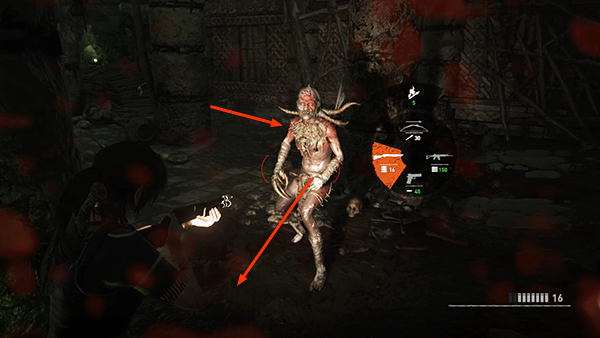
Do the same with the second warrior.
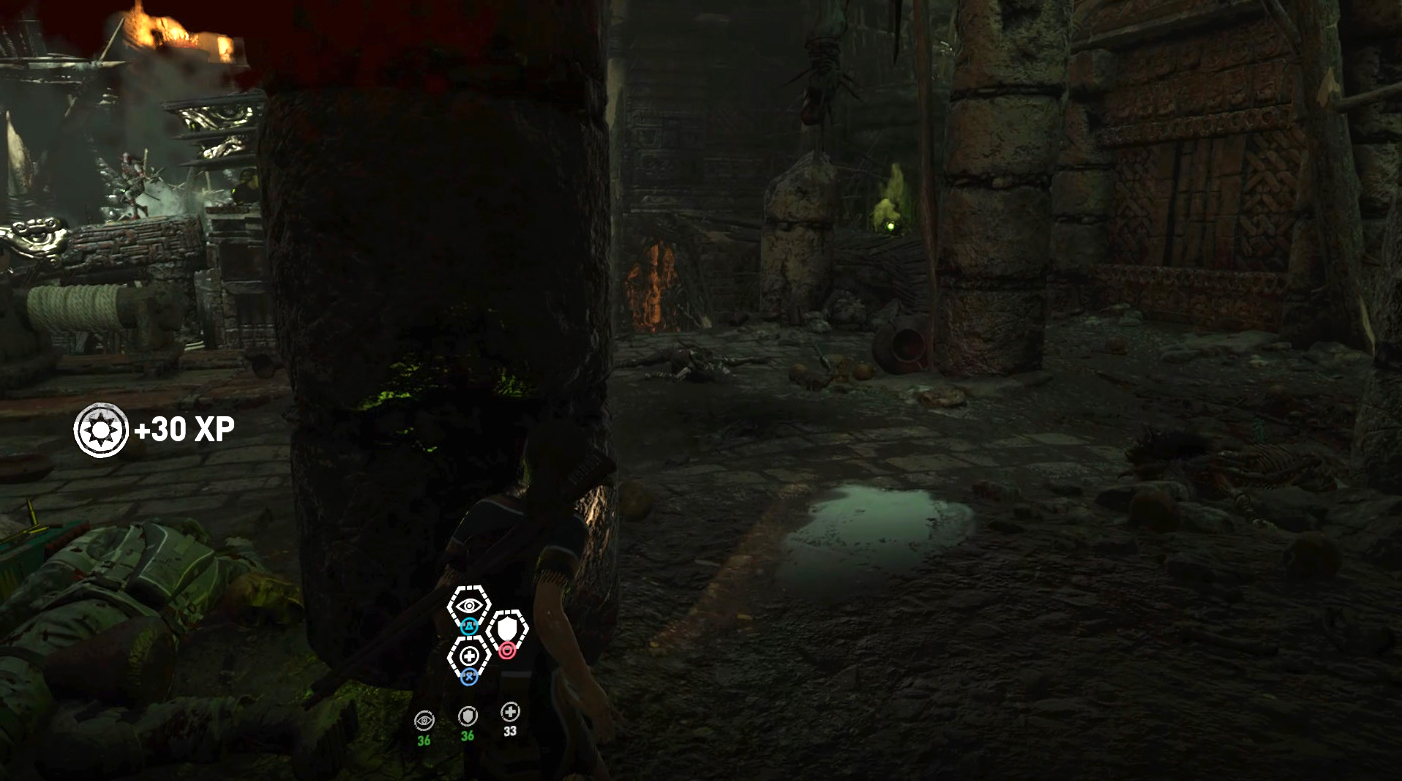
If Lara takes damage during the fight, stay behind the column and heal (press F1 on the keyboard; hold L1/LB and press X/A on the controller).
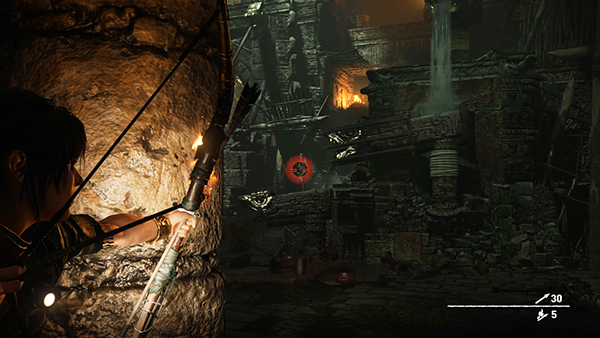
Then take out the second archer above the lower spigot with a fire arrow, regular arrows, or rifle.
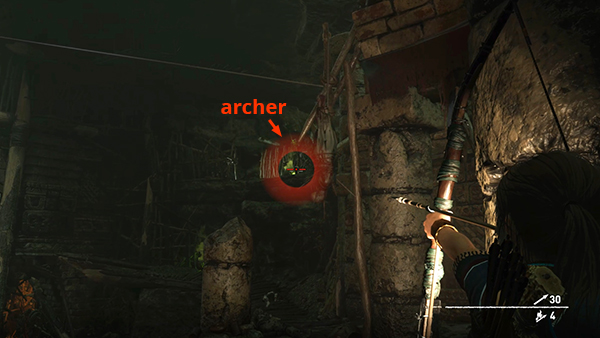
There's still one enemy left: a third archer high on the right (west) side. If you lean out around the left side of the column, you can target him or the green orb next to him from relative safety.
After this, Lara stands up straight, indicating there are no more enemies nearby. You can relax a bit, pick up the ammo near the column if you didn't get it earlier, and search the corpses.
[Previous | Cenote Walkthrough]
Copyright © - Stellalune ( ). All rights reserved. Feel free to copy or print this walkthrough for personal use. By all means, share it with friends, but please include this credit line so people can send me their feedback. No part of this walkthrough may be reproduced on another site without permission. Follow this link for details about this site's advertising and privacy policy.